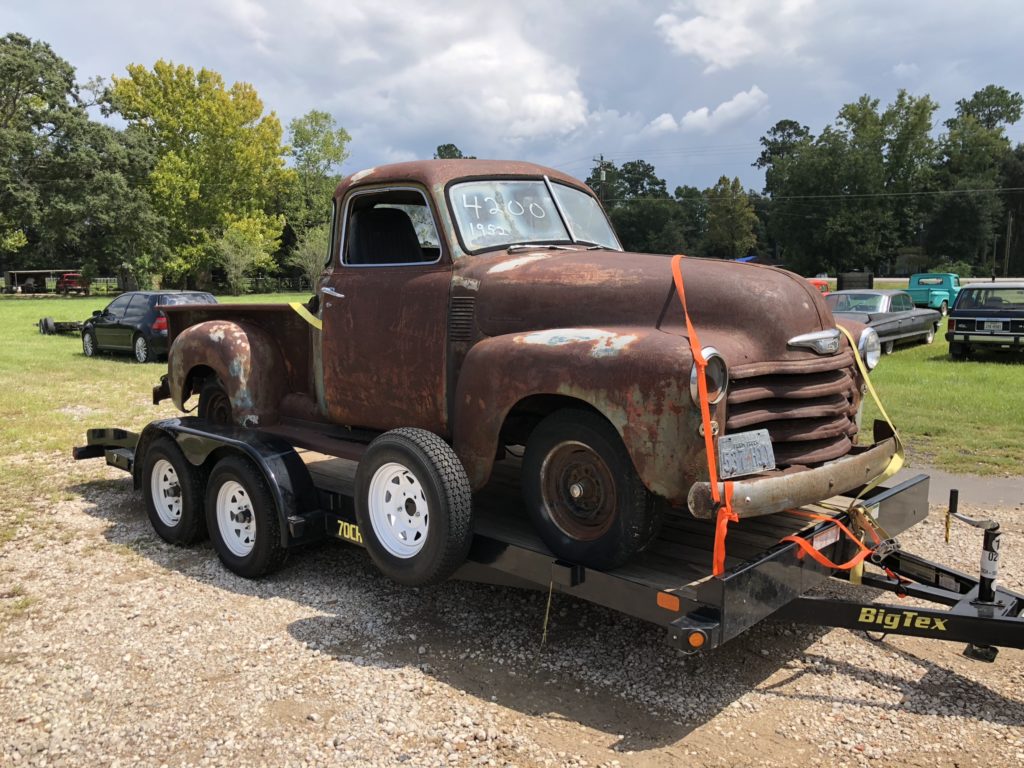
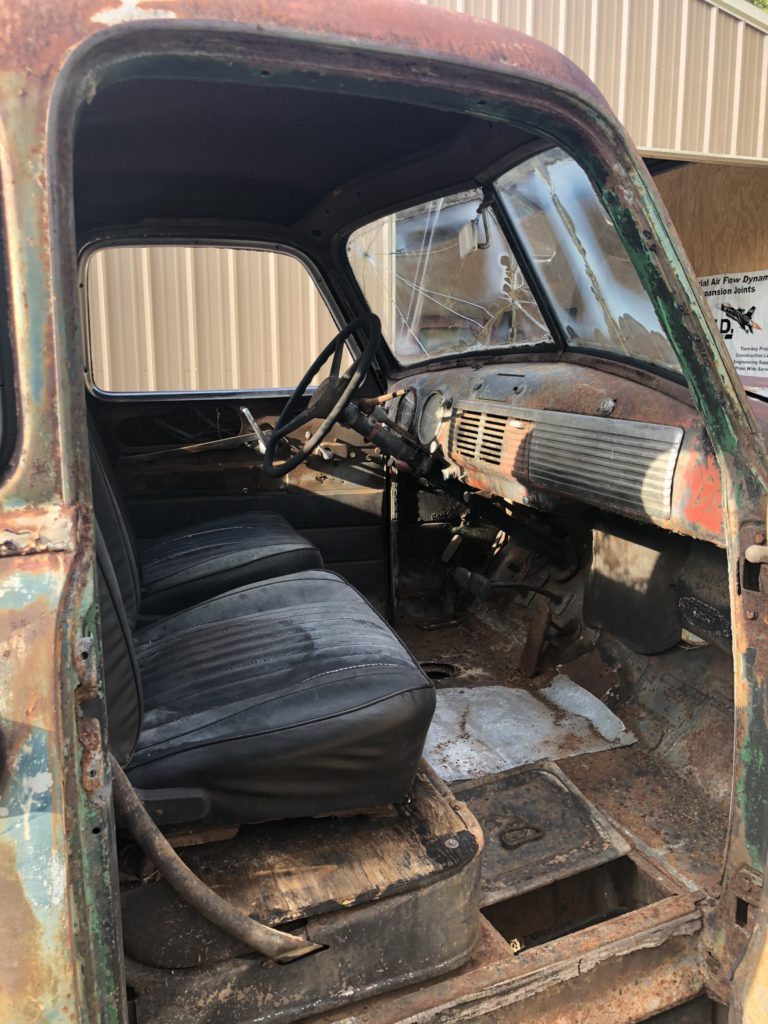
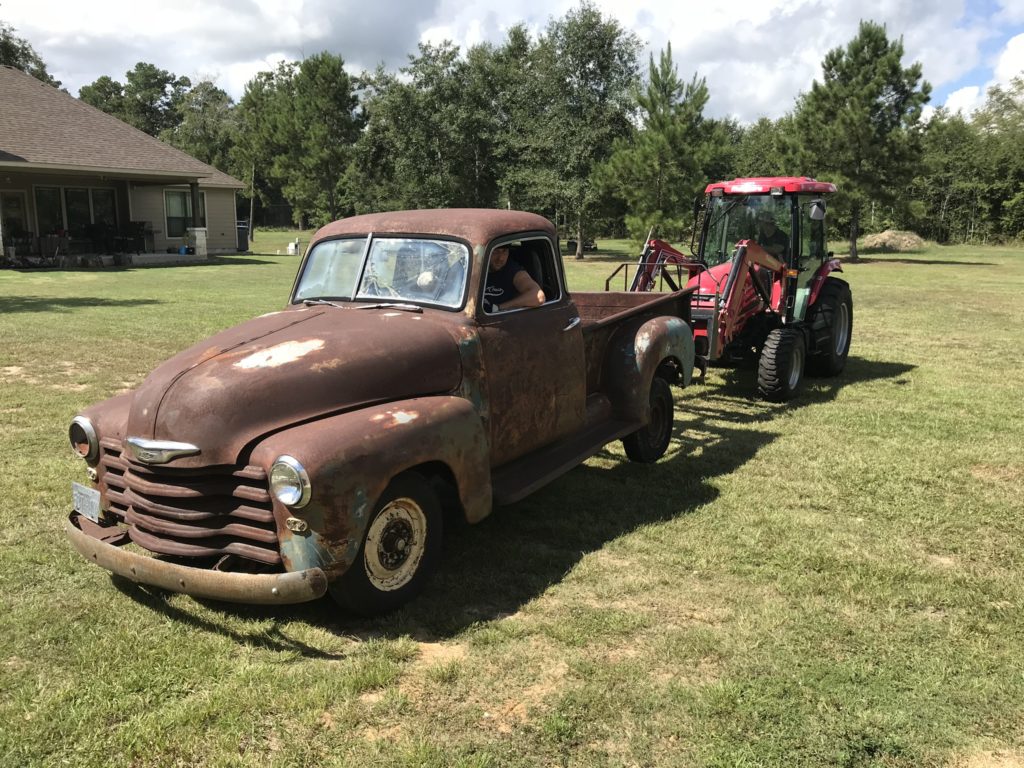
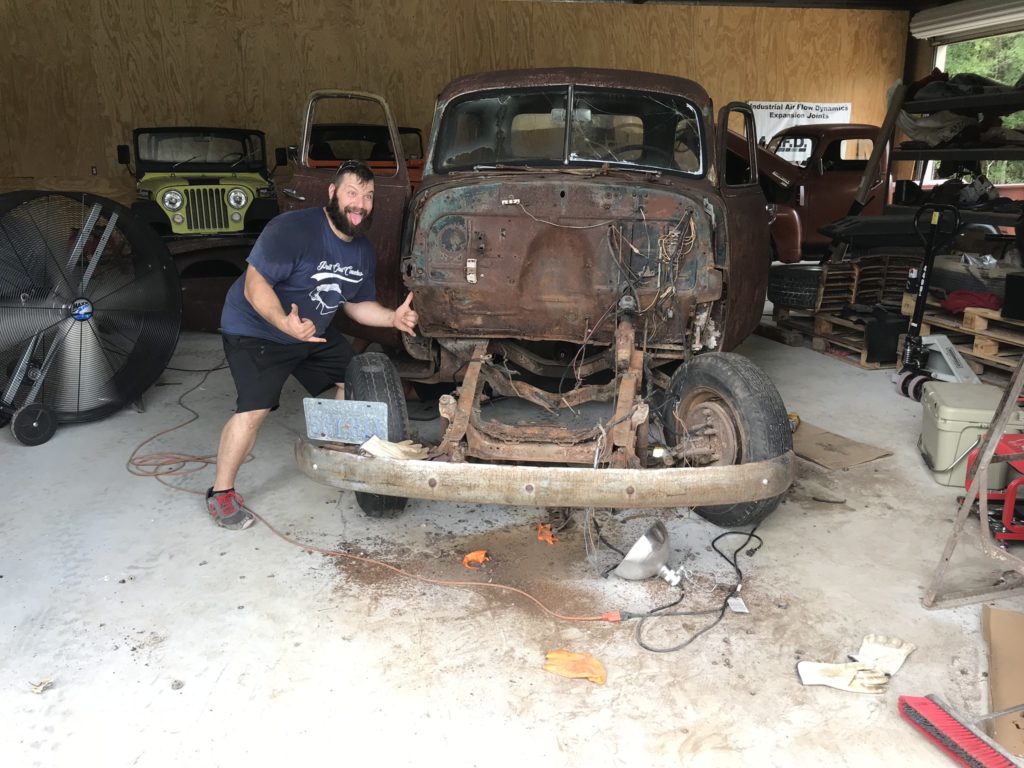
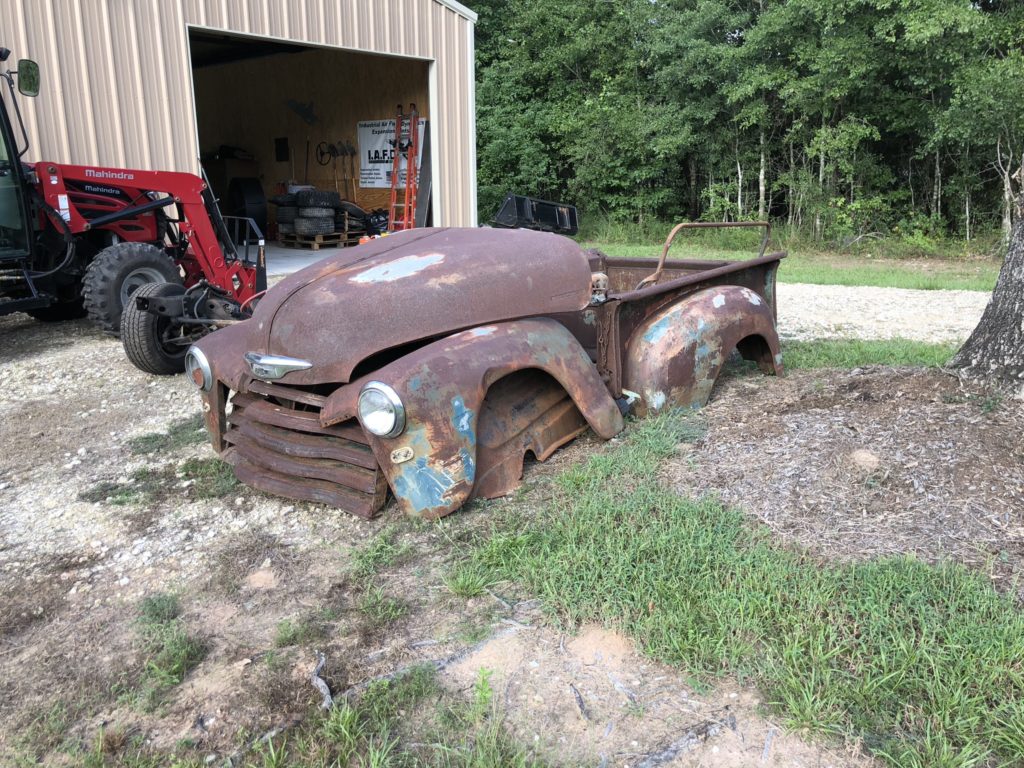
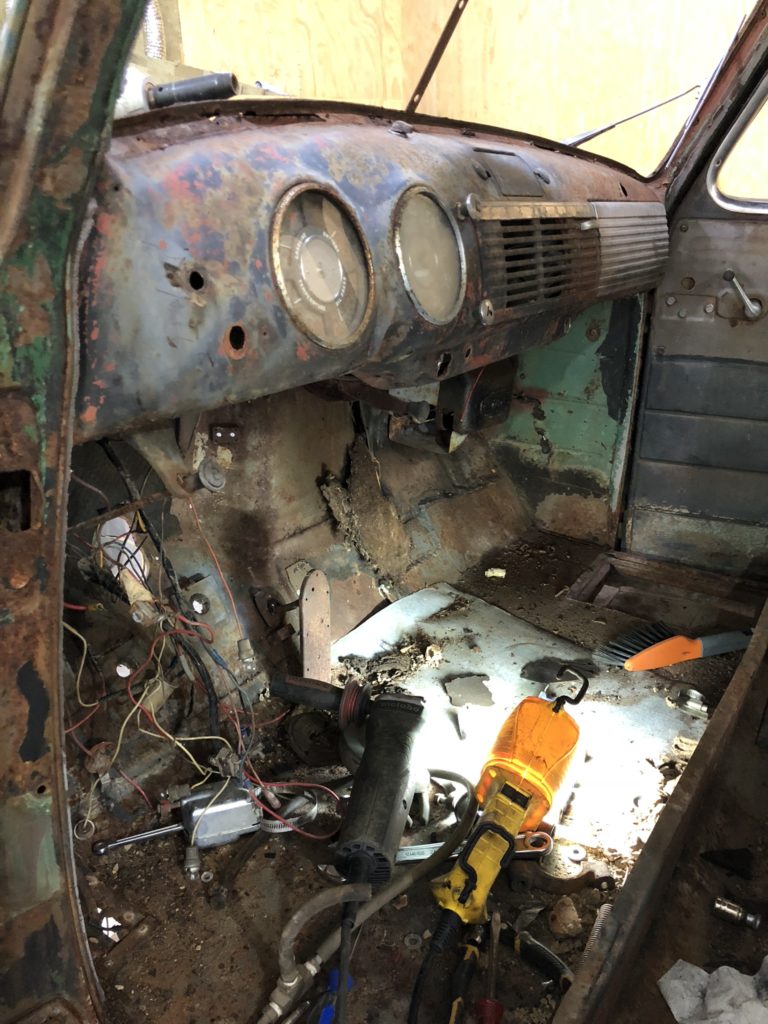
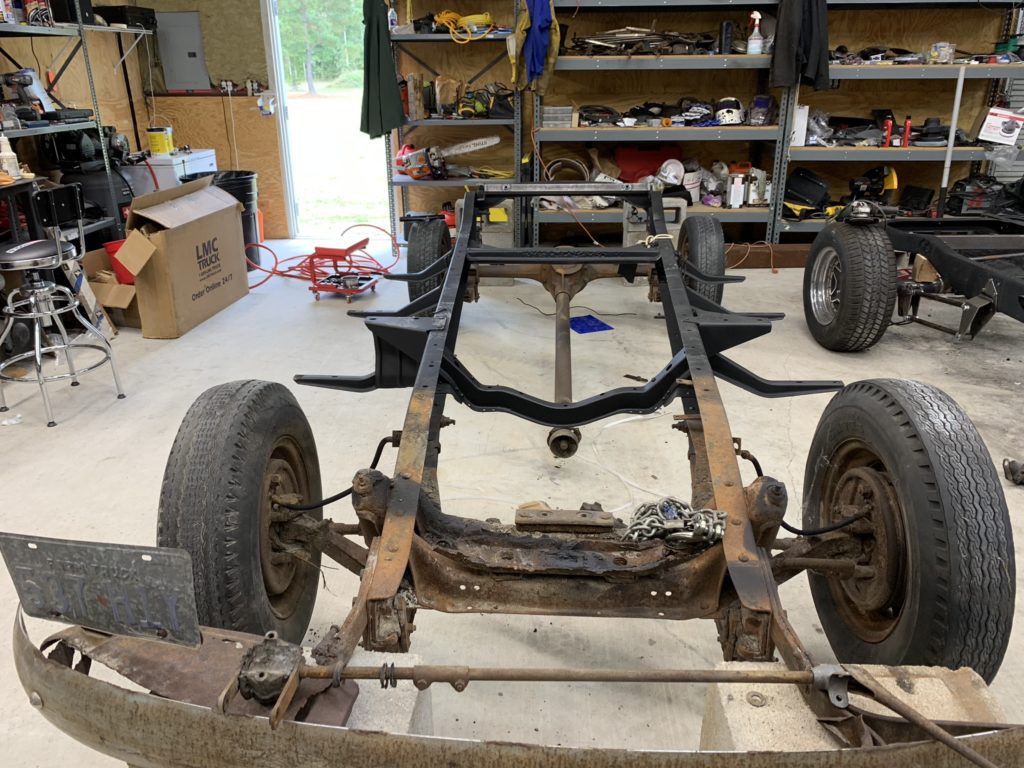
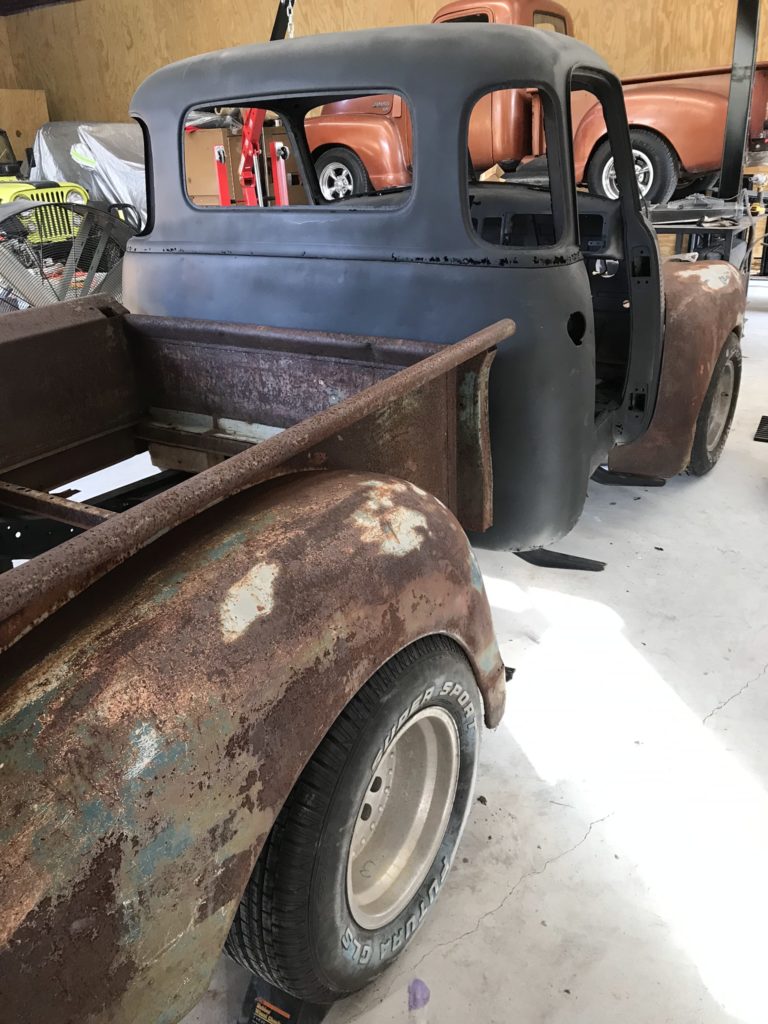
This project truck is our 1951 Chevy 5 window. I’m not sure exactly why but she stood out and reminded me of a beauty queen waving us to buy her. Its a rough one but not the worst I have seen. Its completely original, has the original driveline, chassis, body, tired interior.. etc. Lots to be done, lets get started!
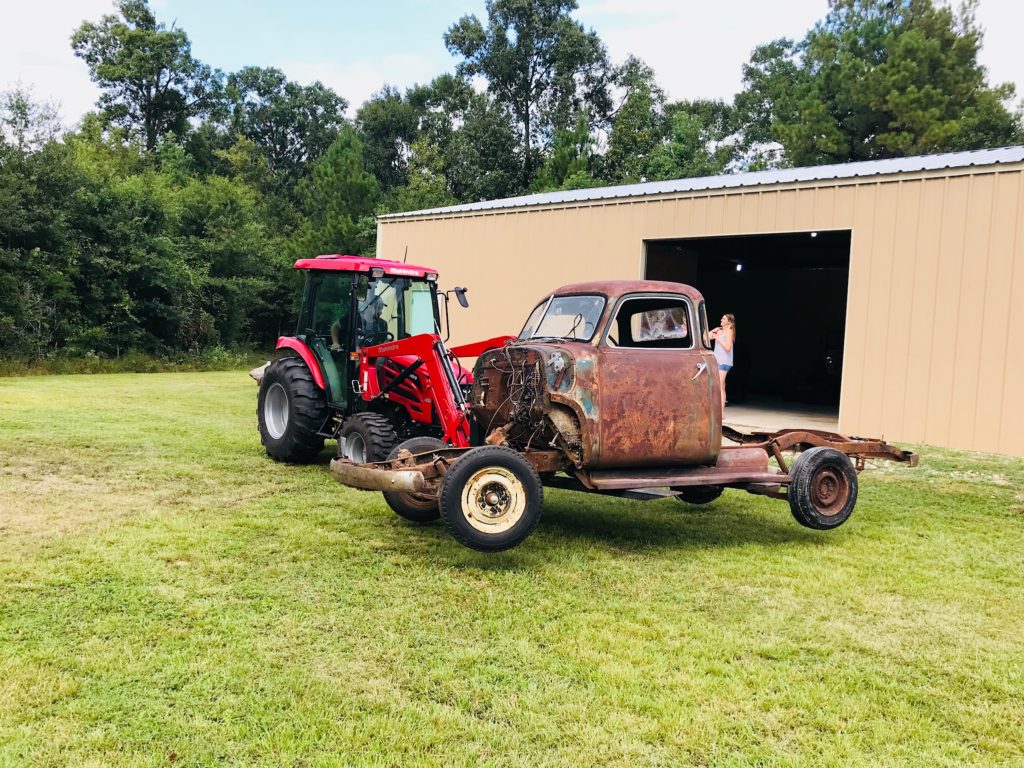
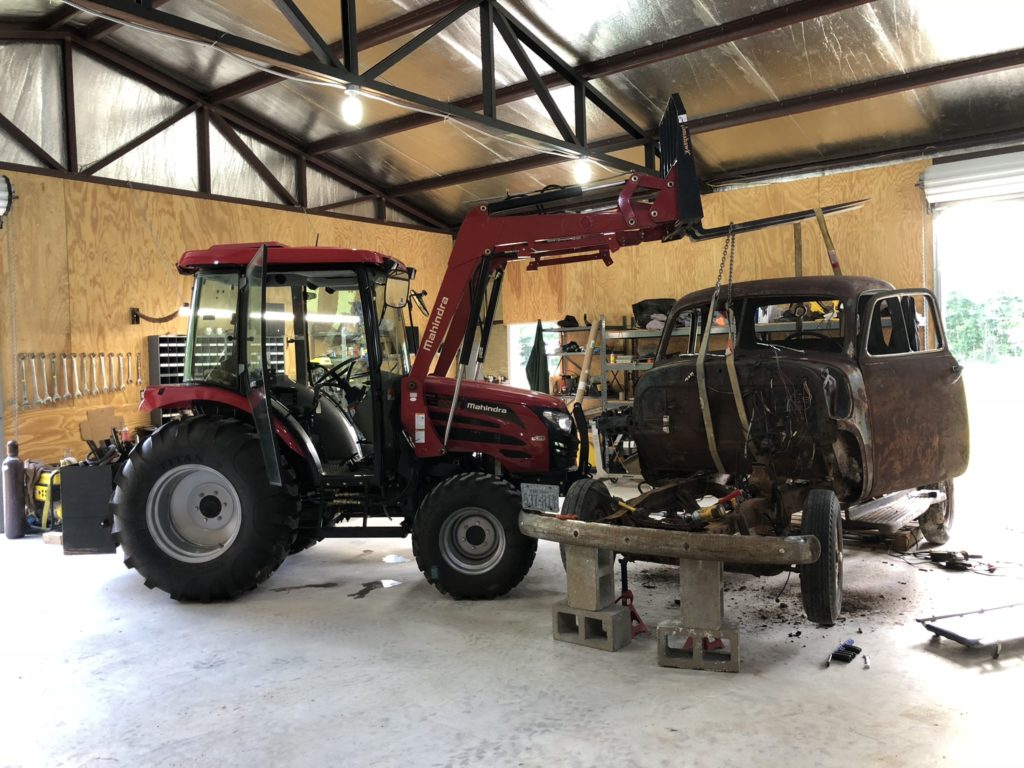
Timing worked out great and some family came into town for the weekend and we spent an afternoon working on the queen. Don the driver helped get her inside the shop
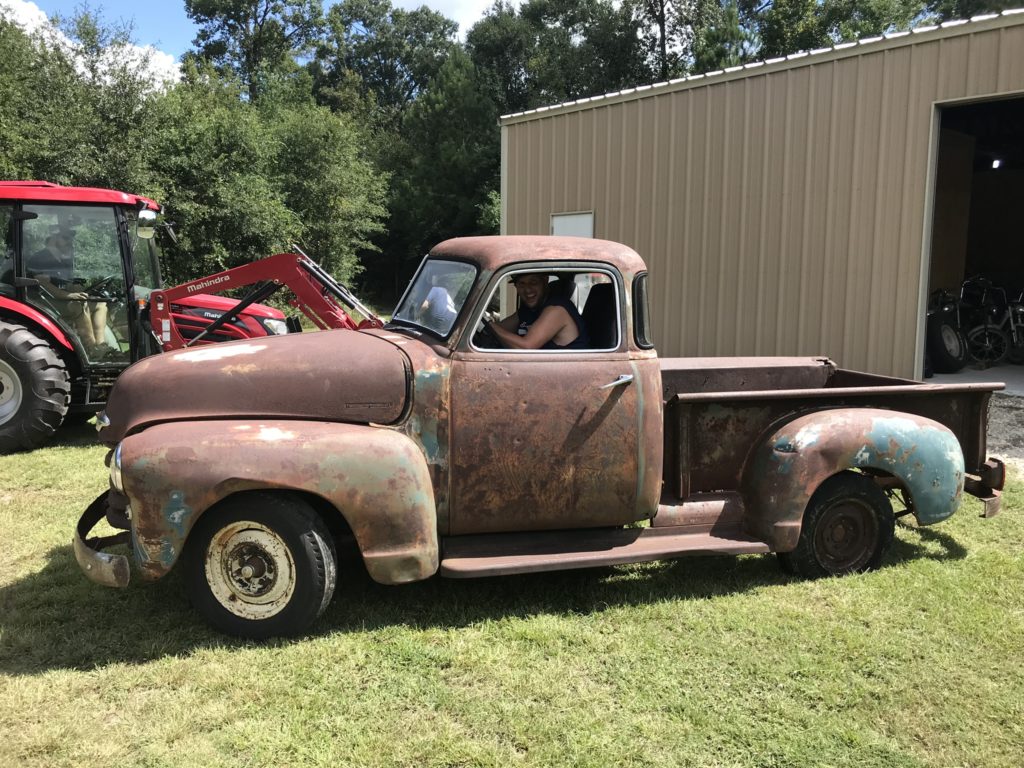
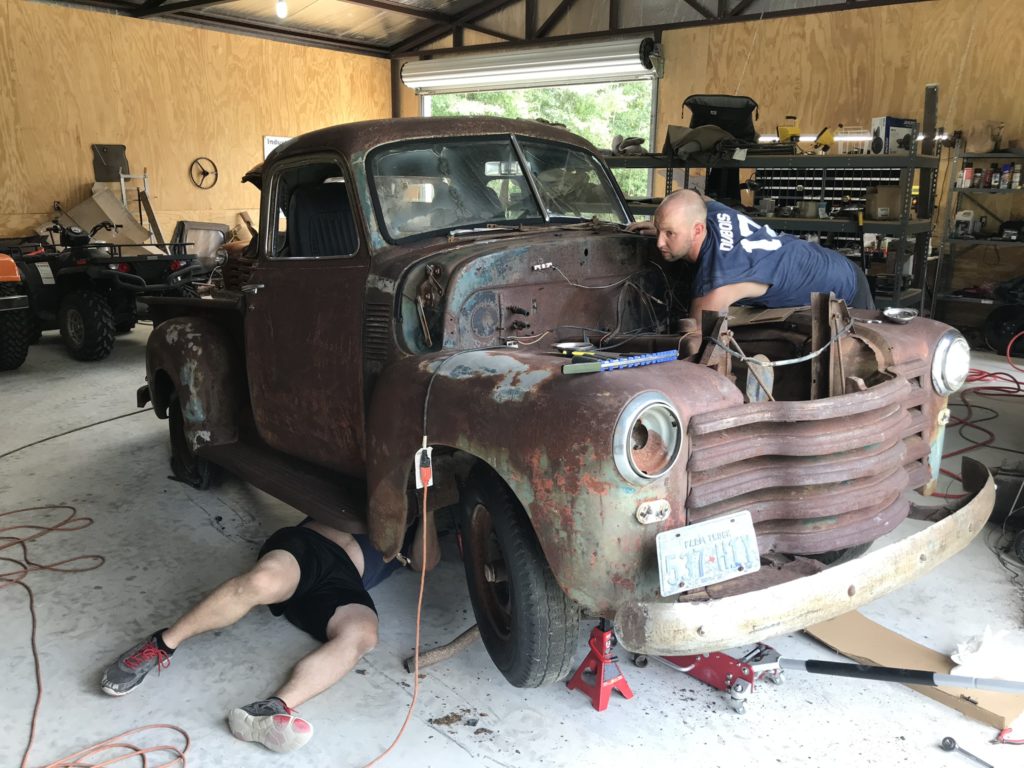
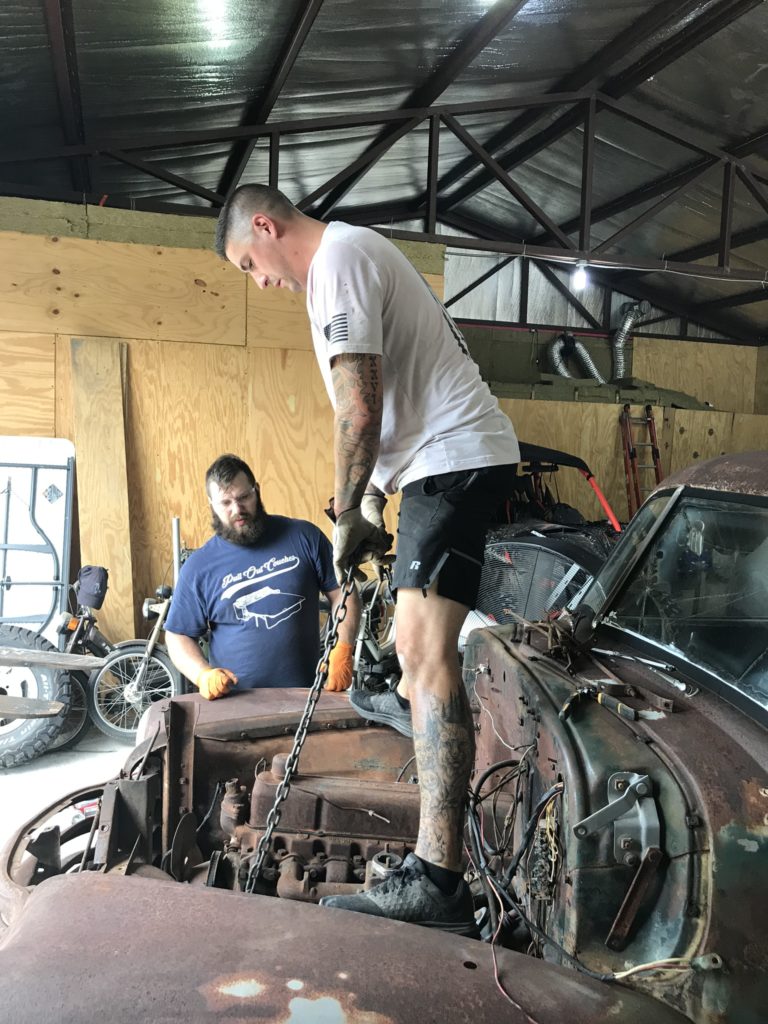
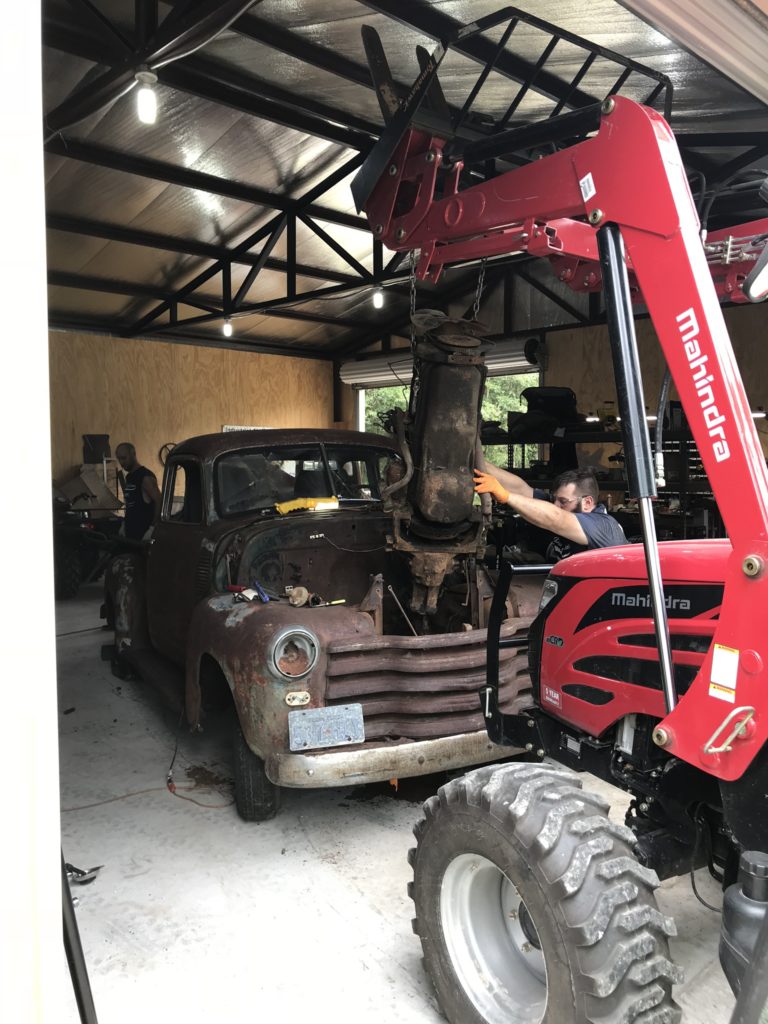

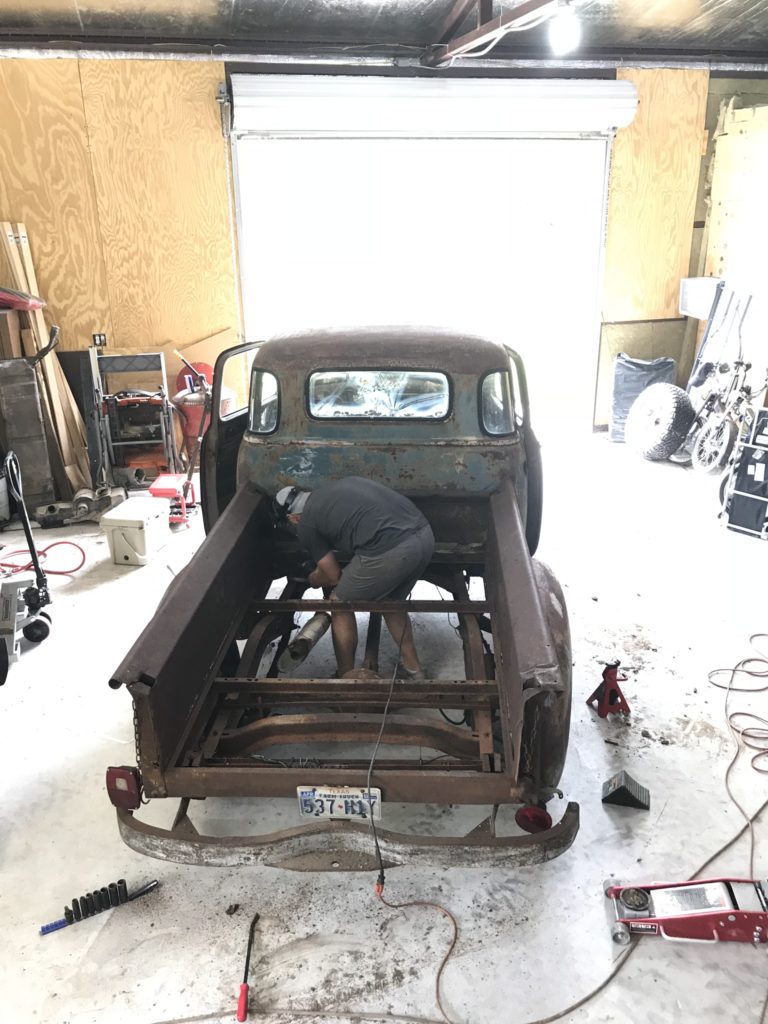
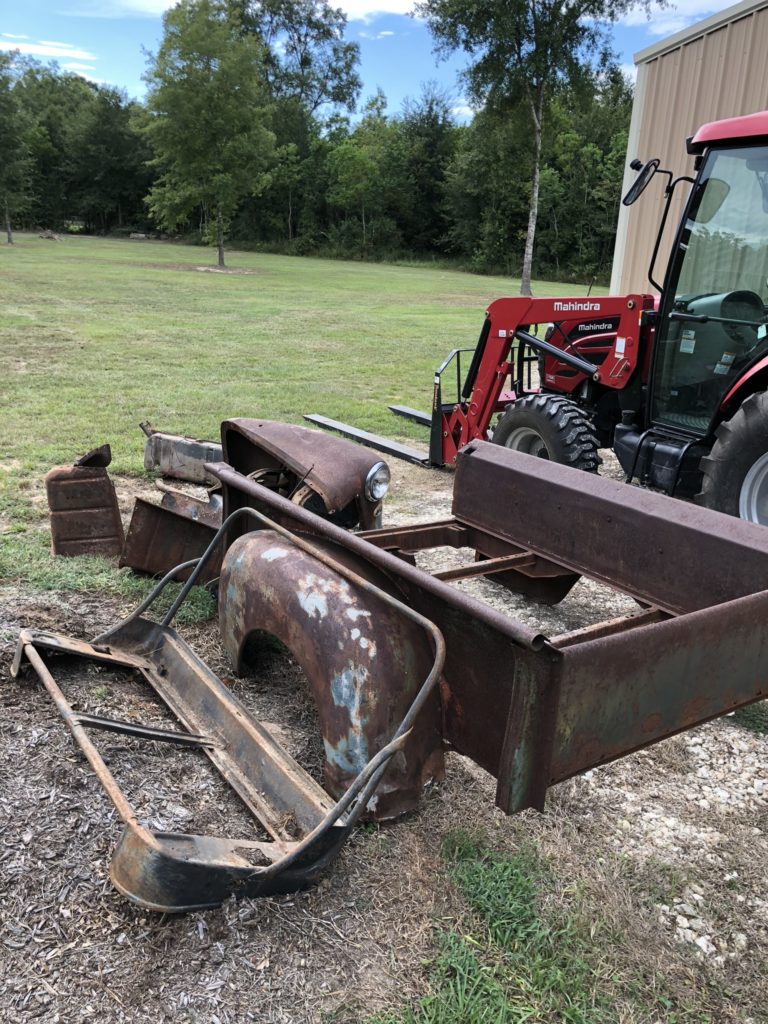
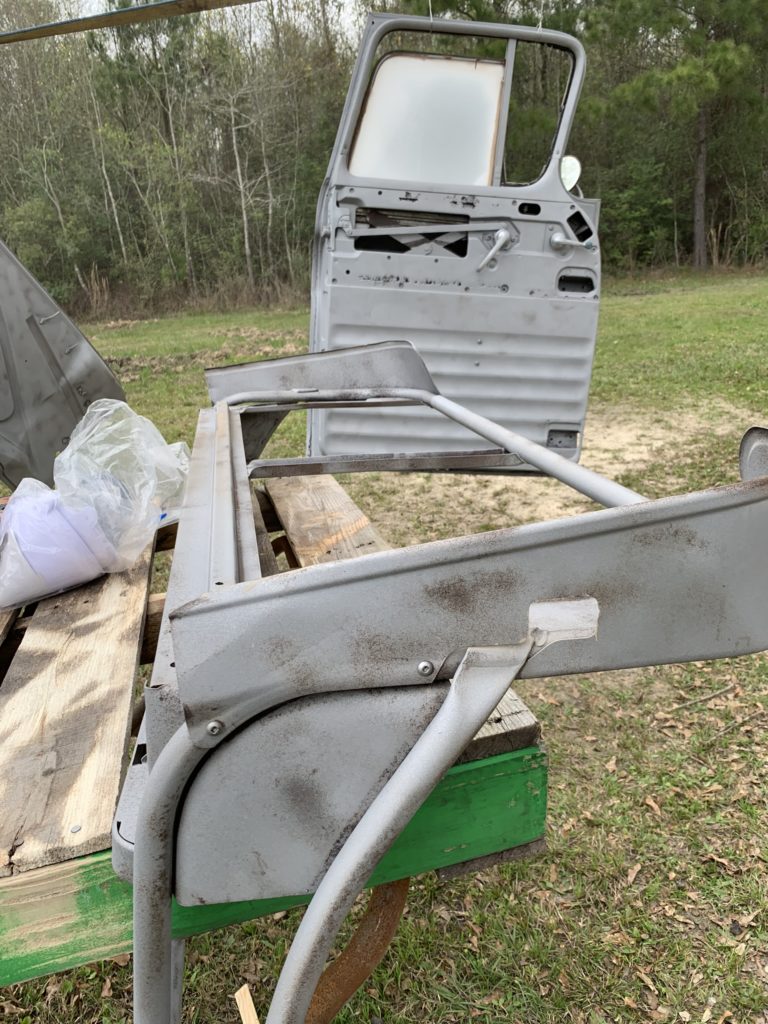
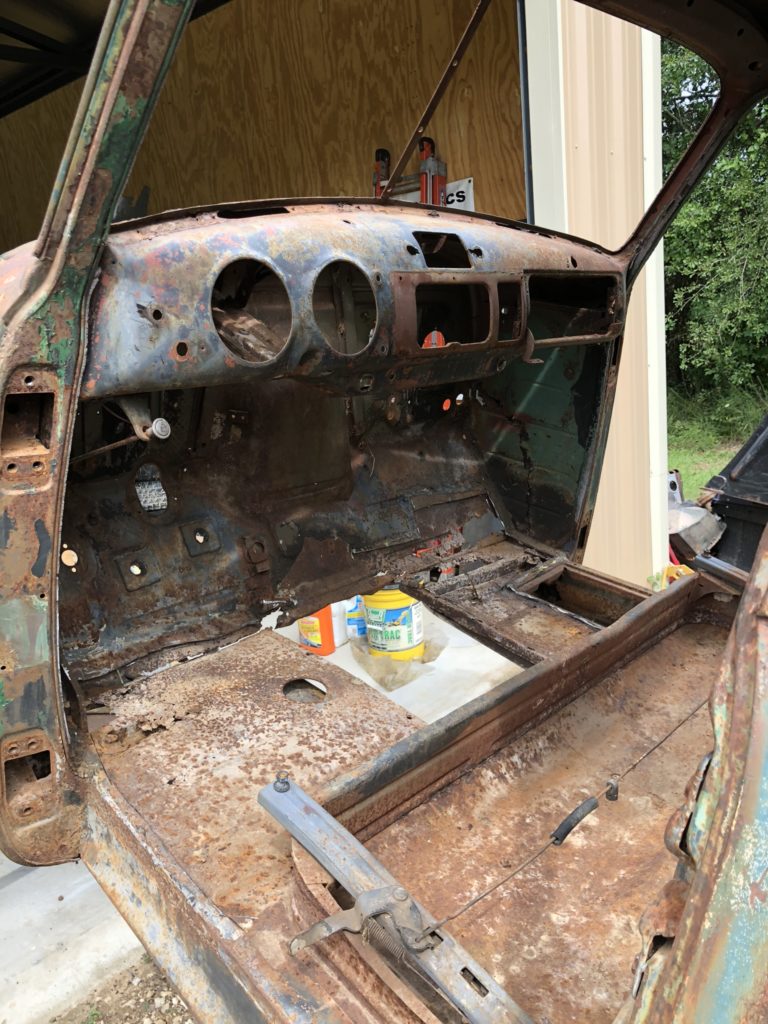
Made some more room and brought the truck back into the shop to finish the tear down before the blaster comes. Time to remove the cab and everything inside of it

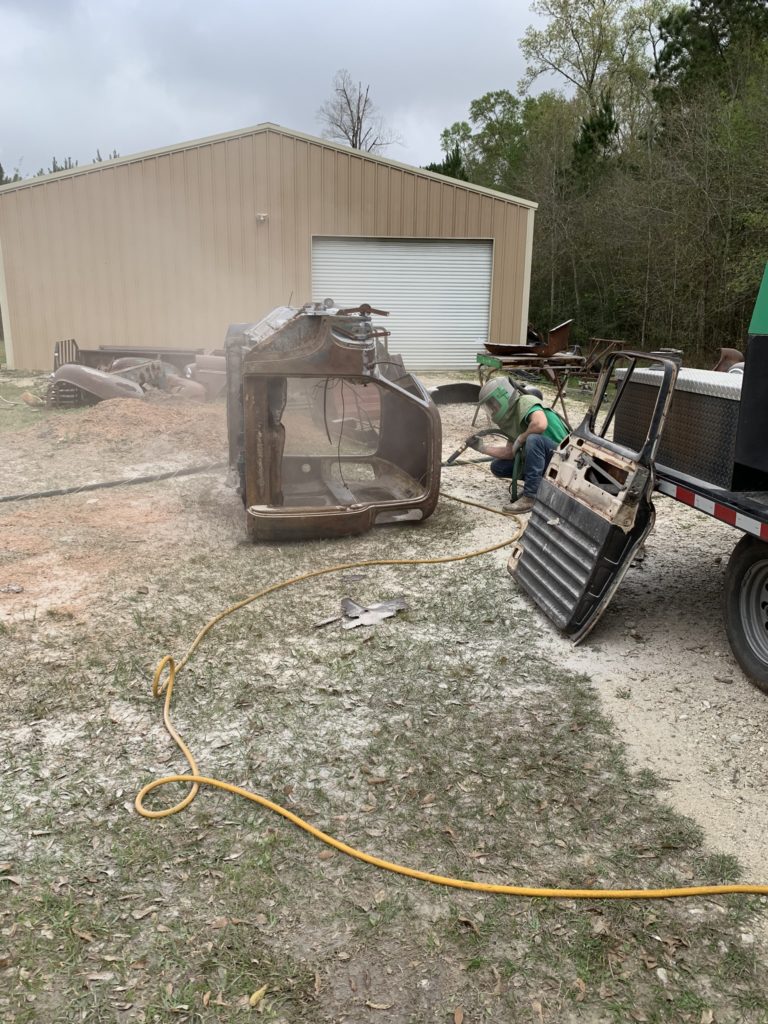
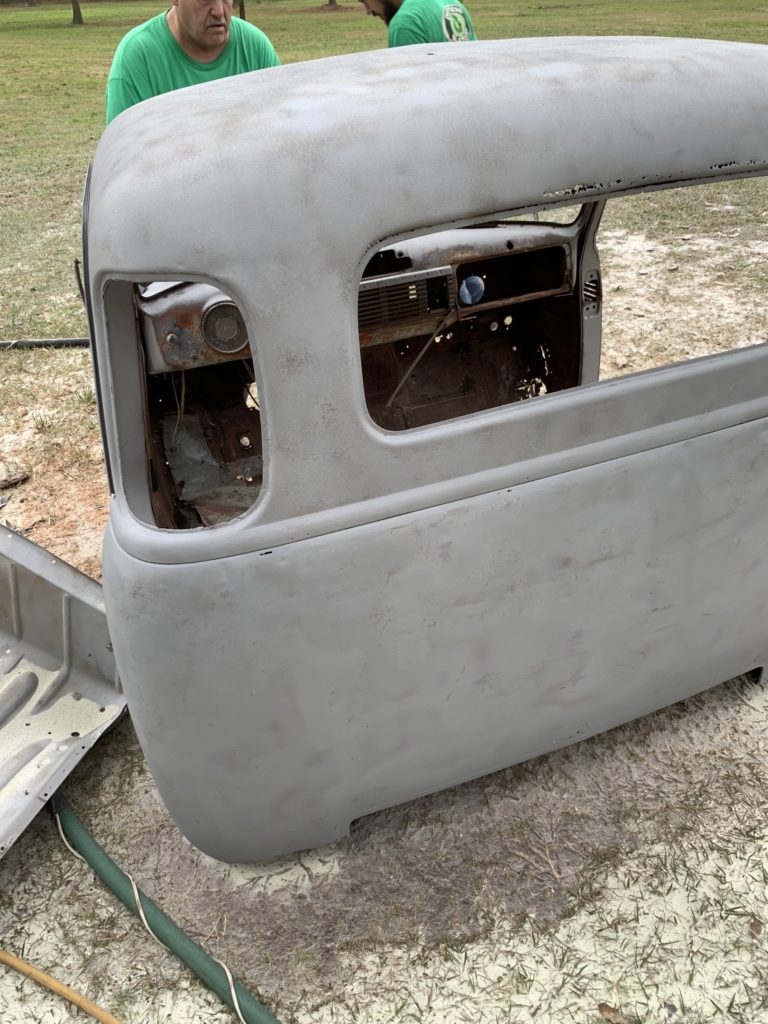
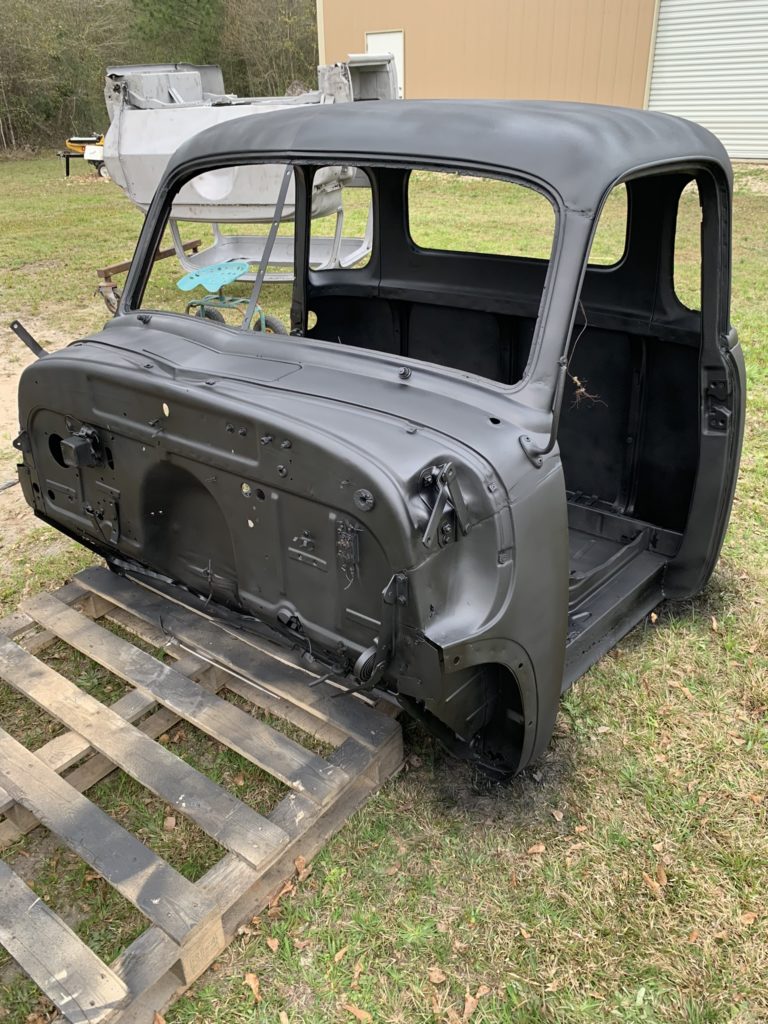
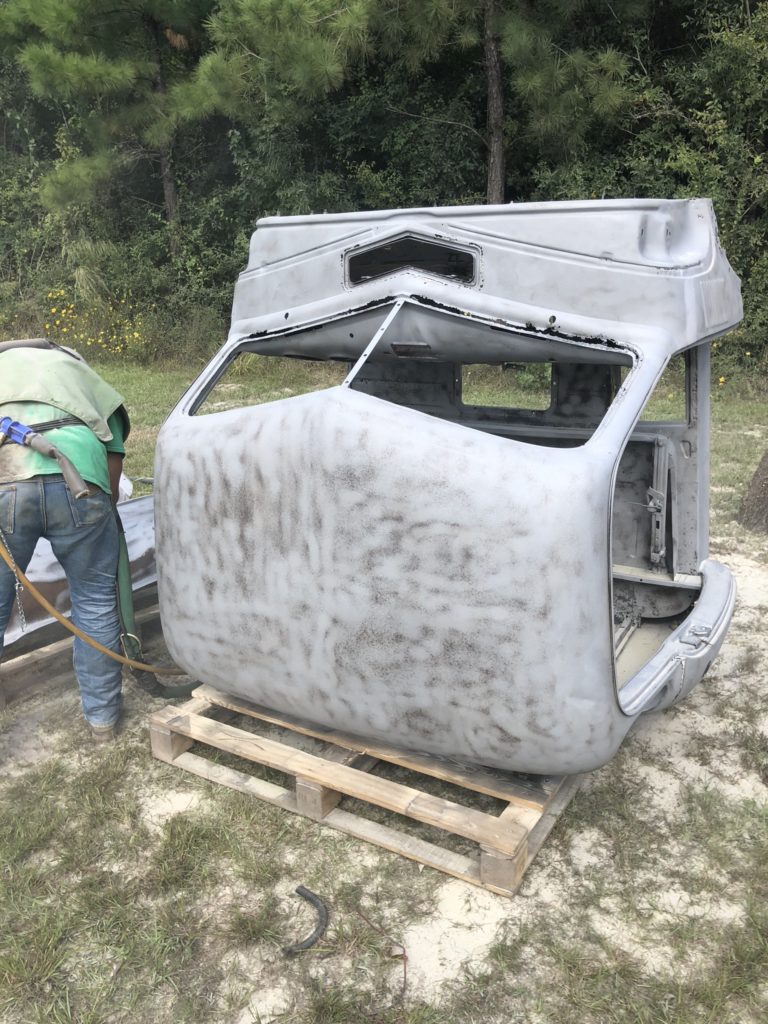
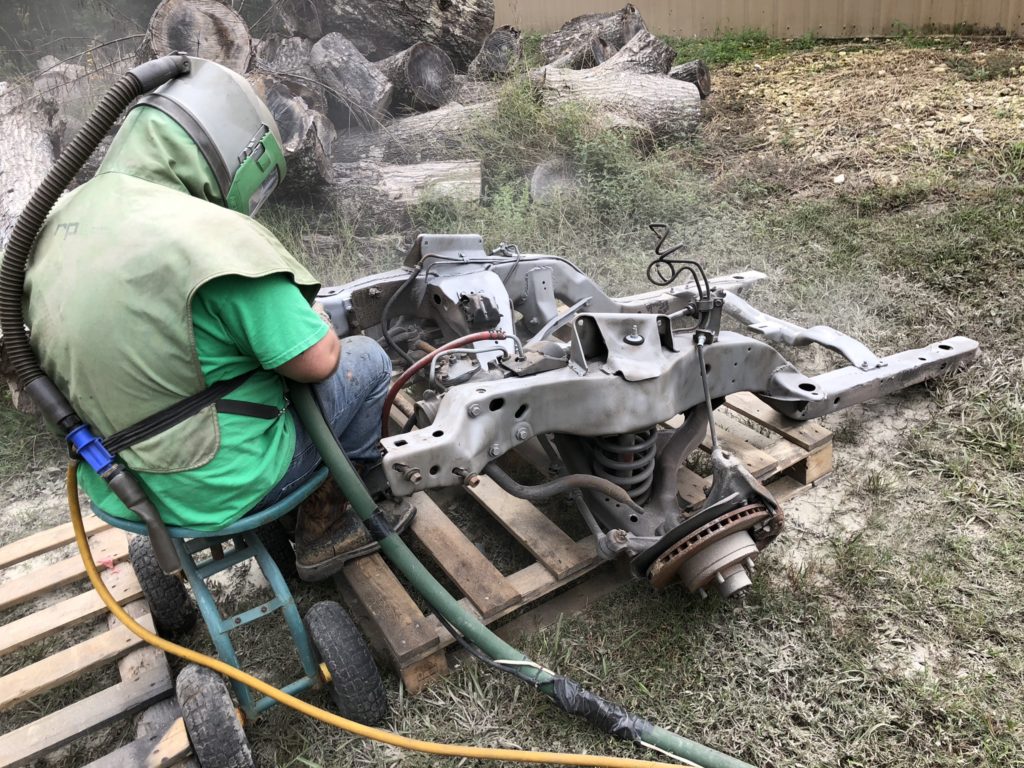
Brought the media blaster out today, great guy and awesome work. Its a media prep and then an epoxy after to immediately seal and prevent rust. Good luck trying to get this stuff off after!
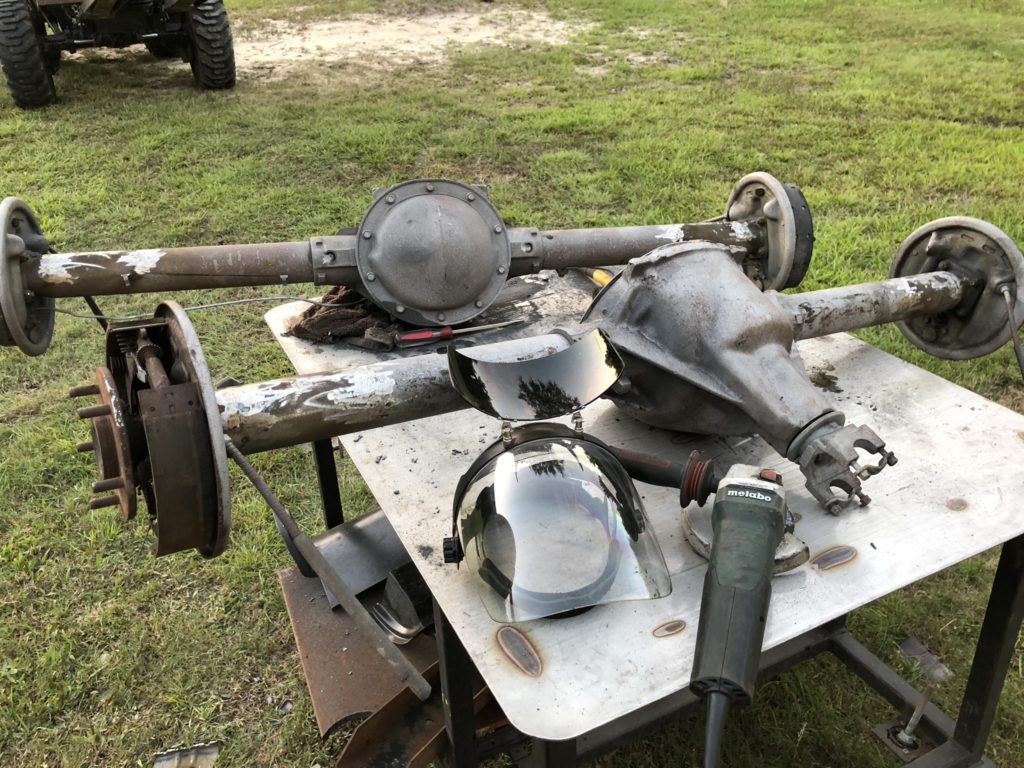

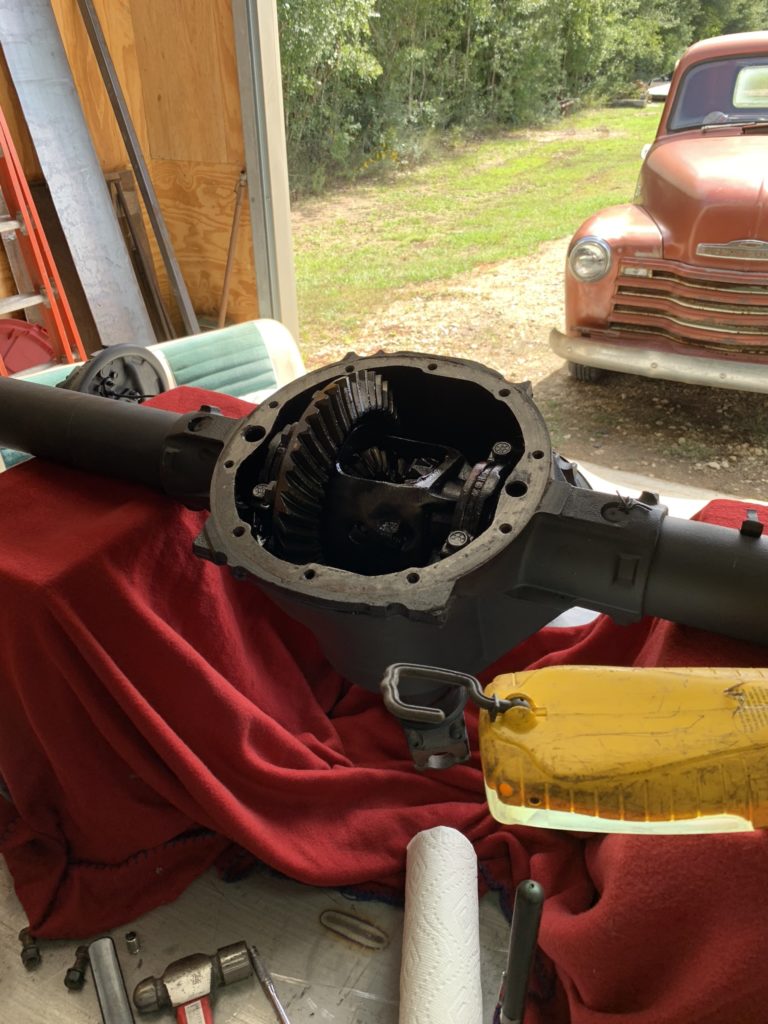
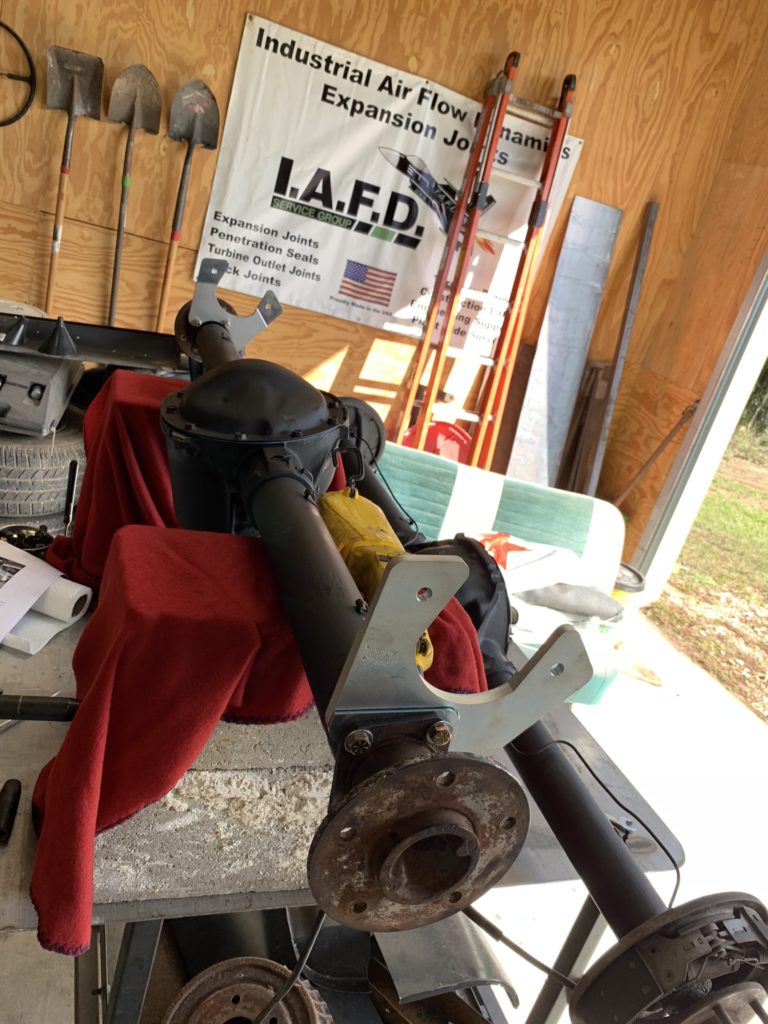
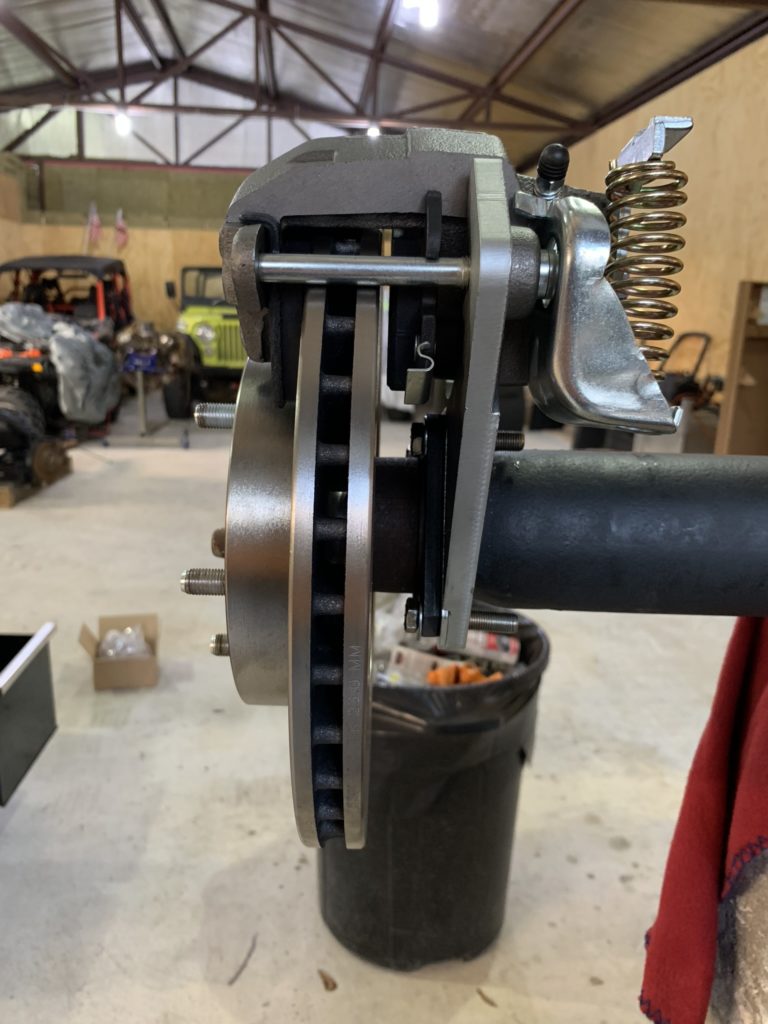
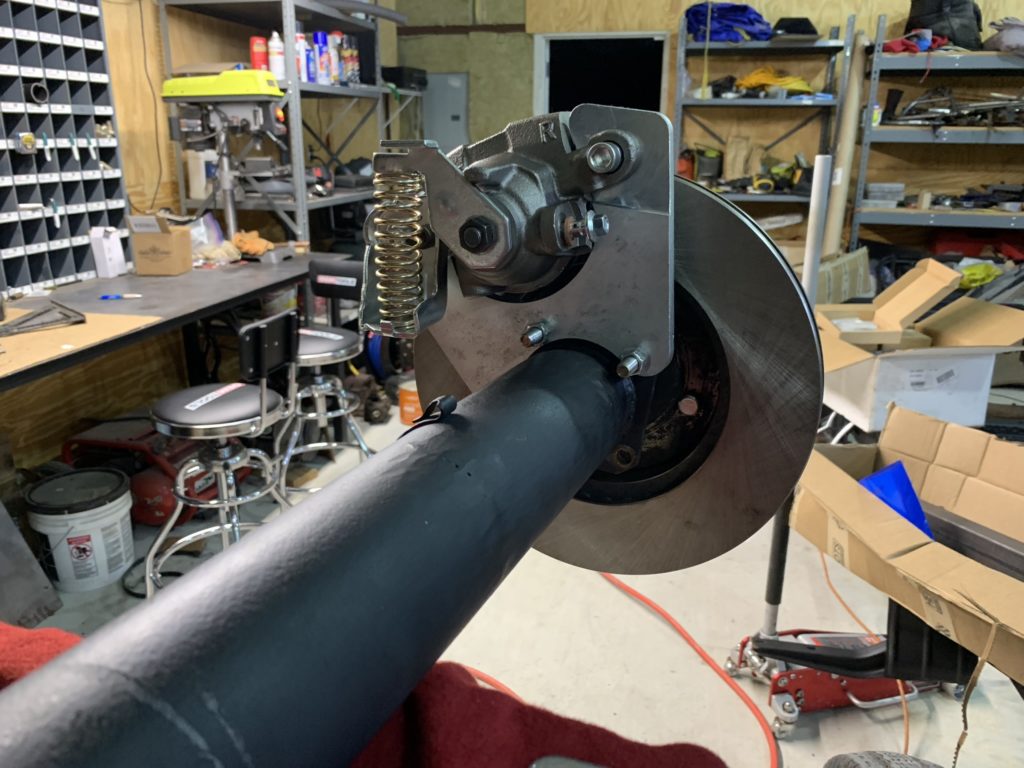
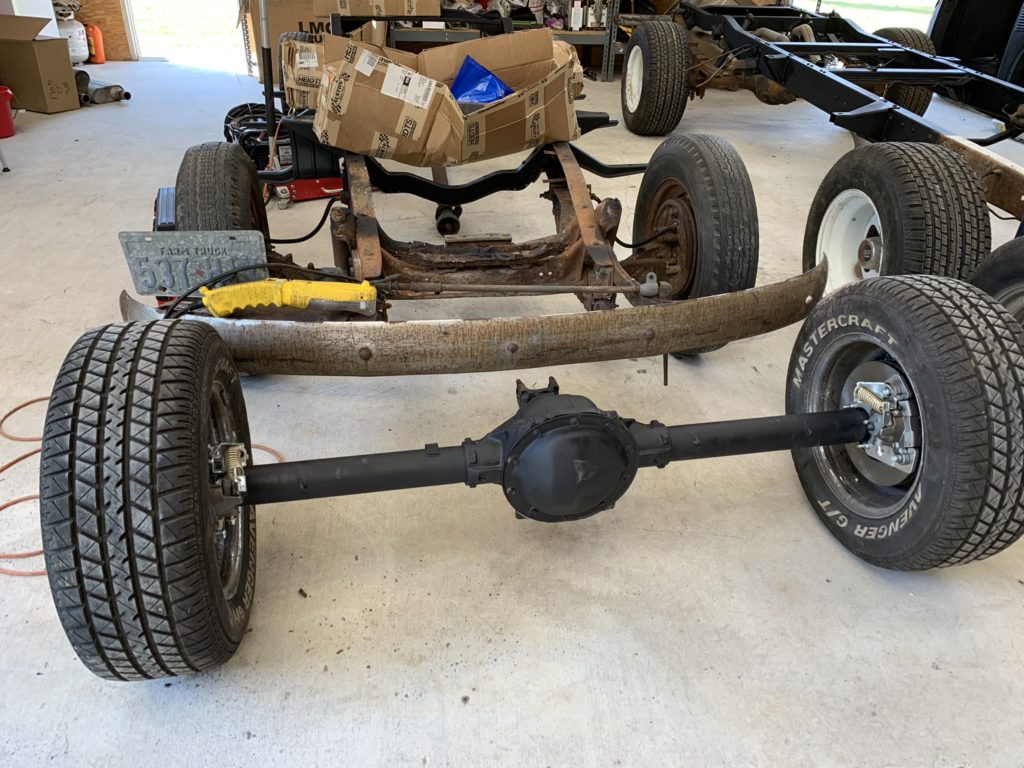
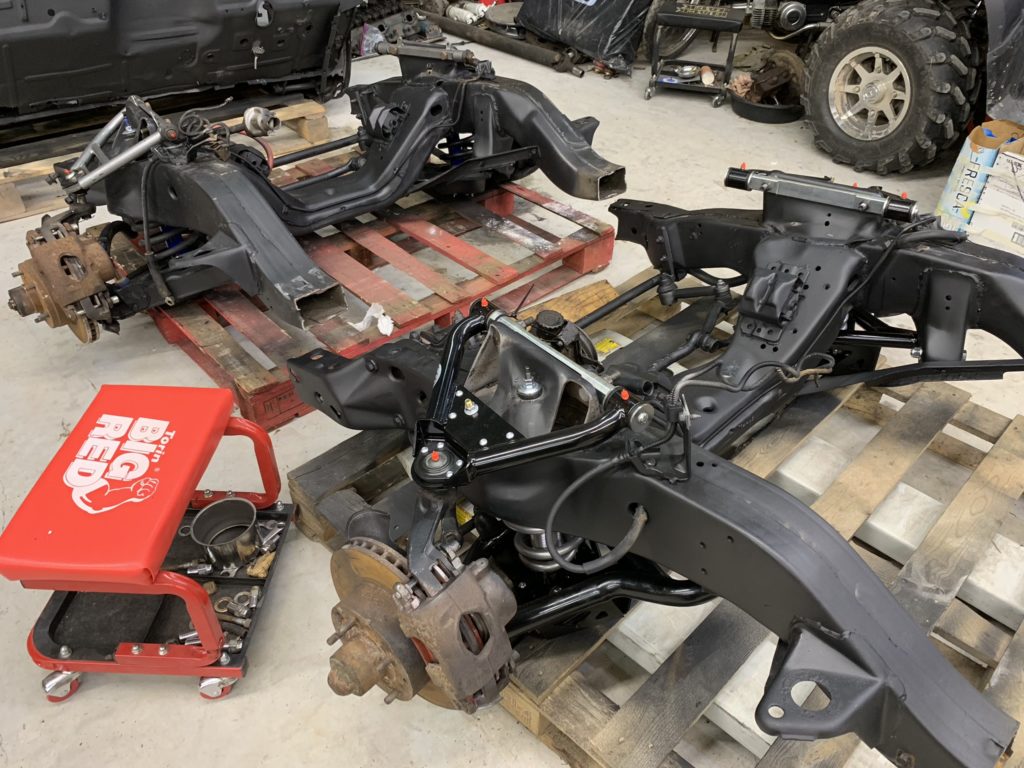
With everything blasted we decided to tackle the rear ends in the shop. I purchased the disk brake conversion kit to replace the drums and I will tell you by the looks of it, they are AWESOME. If they stop and well as they look this will be a must on all rears going forward. $300 on summit btw, in case any one was curious and of course, they bolted right up!
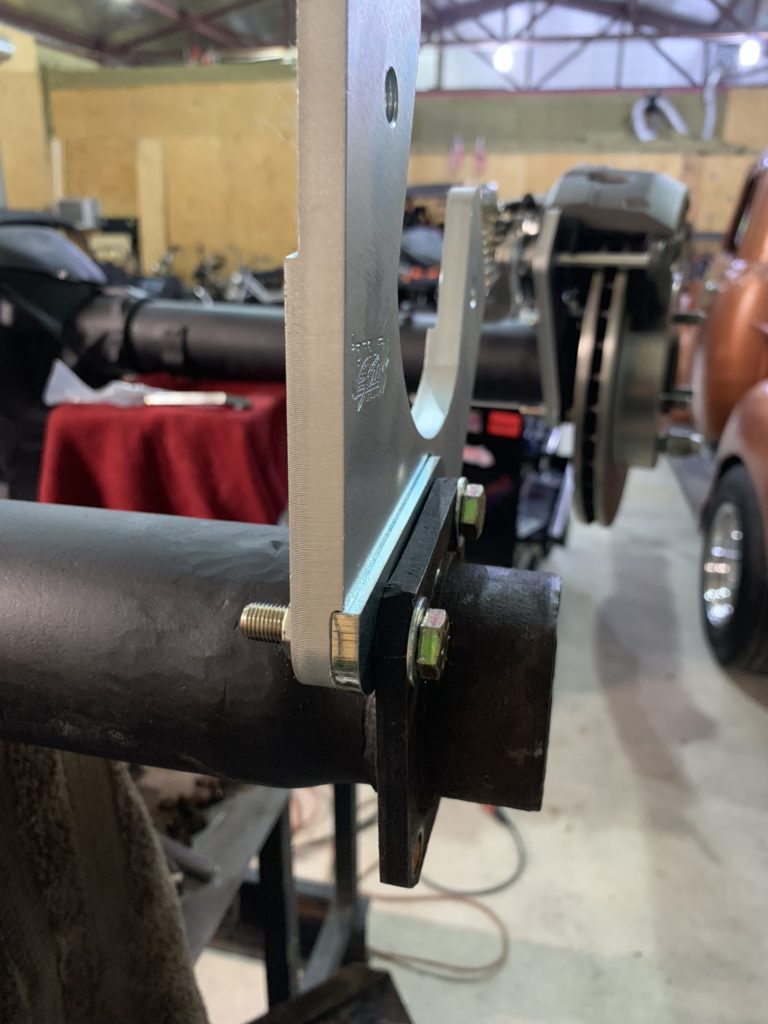
Let me make mention… you really want to try and get the shims right the first couple times. By the third or fourth time on and off, you will get really frustrated and really good at installing them.
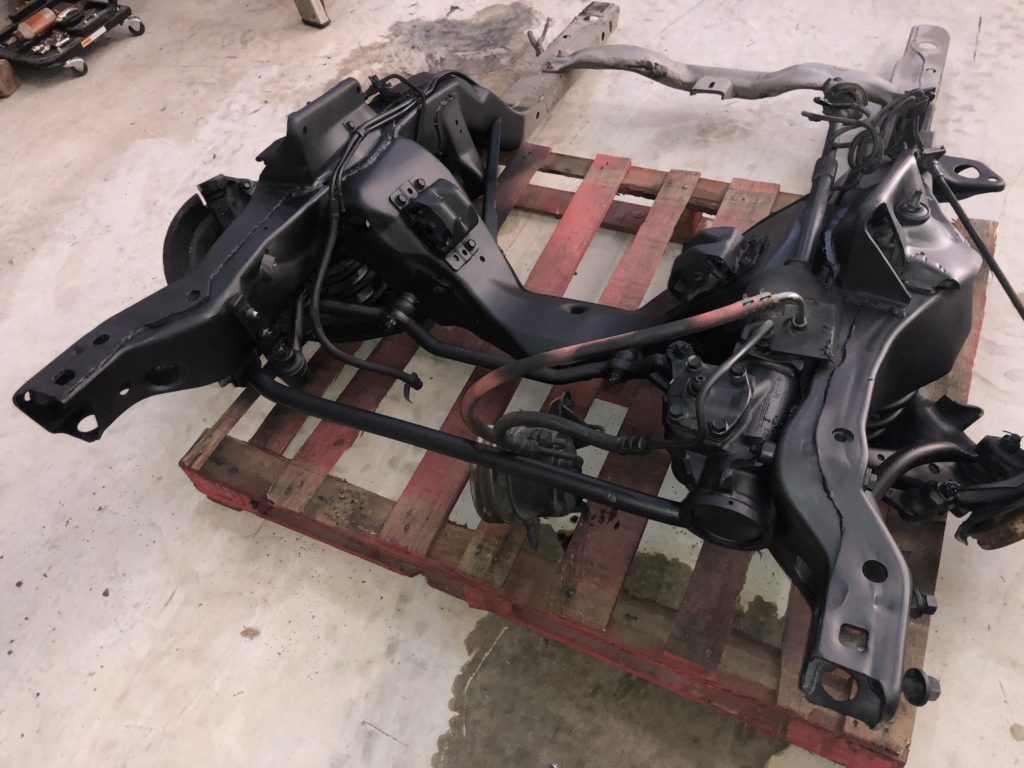
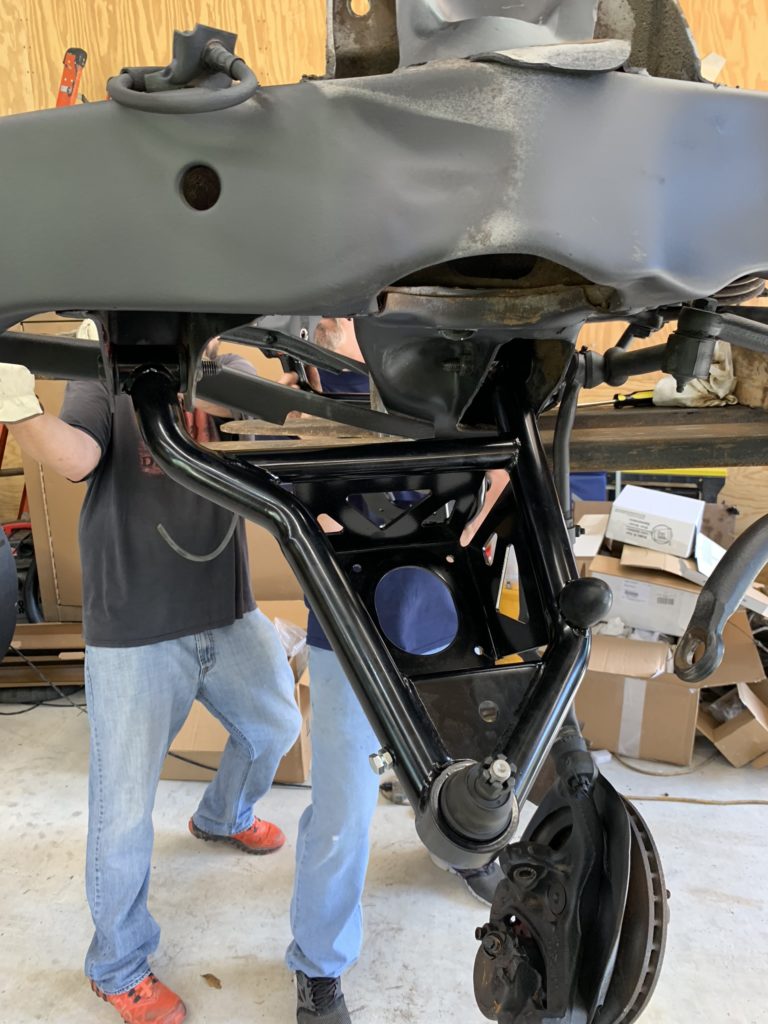
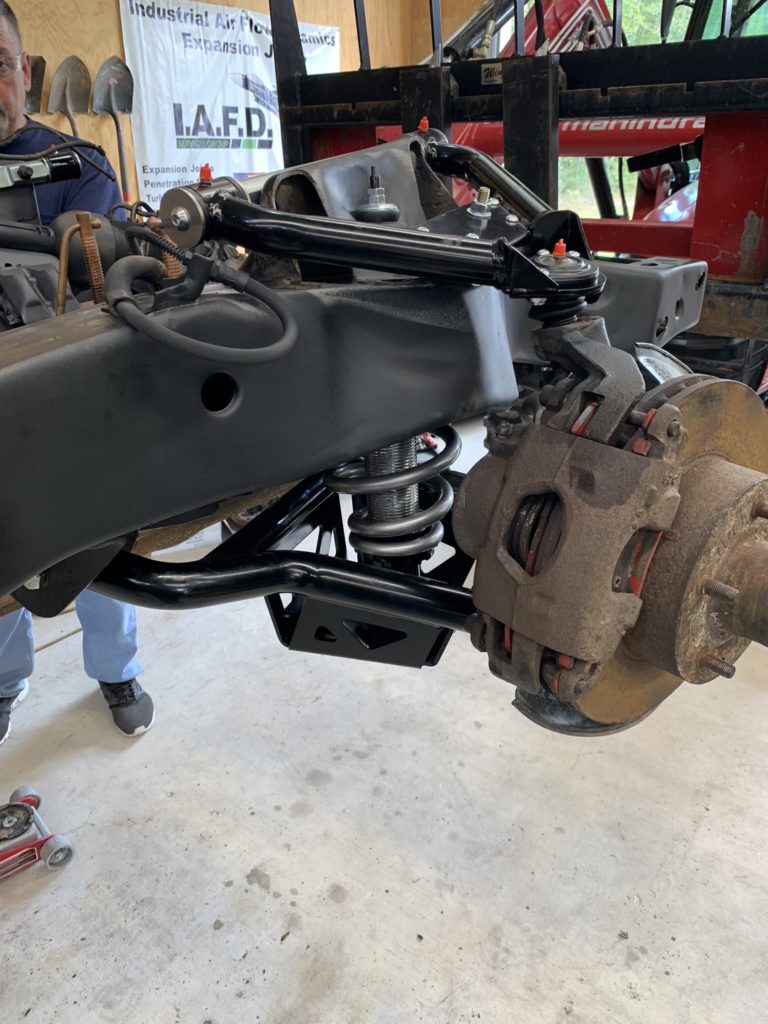
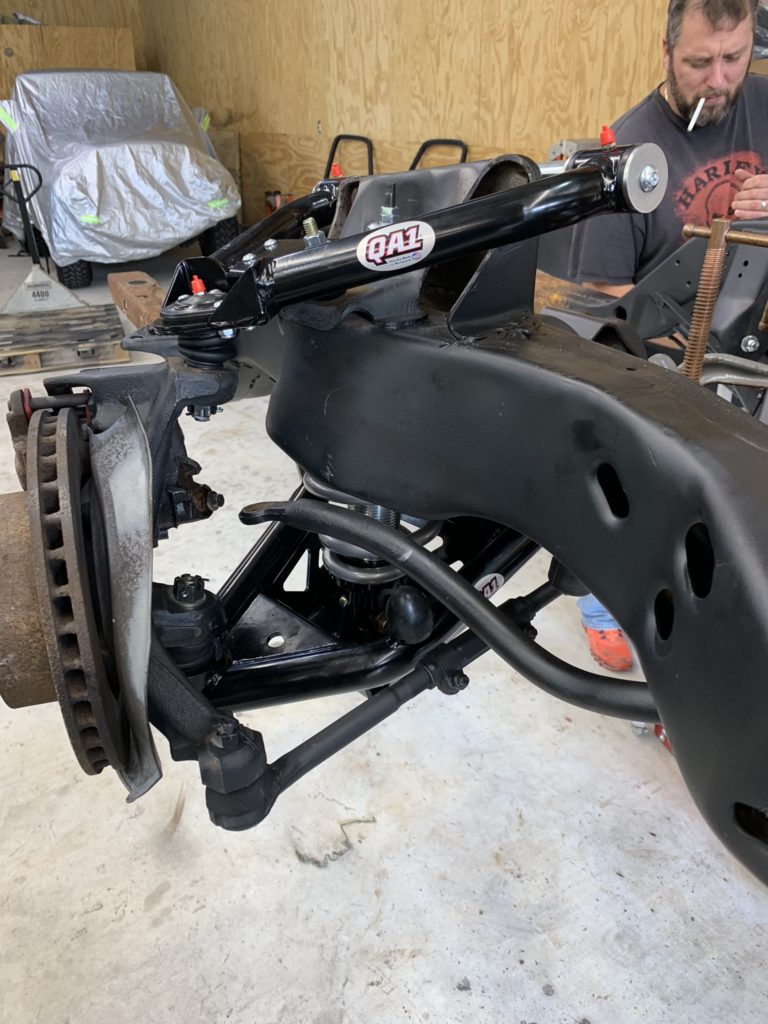
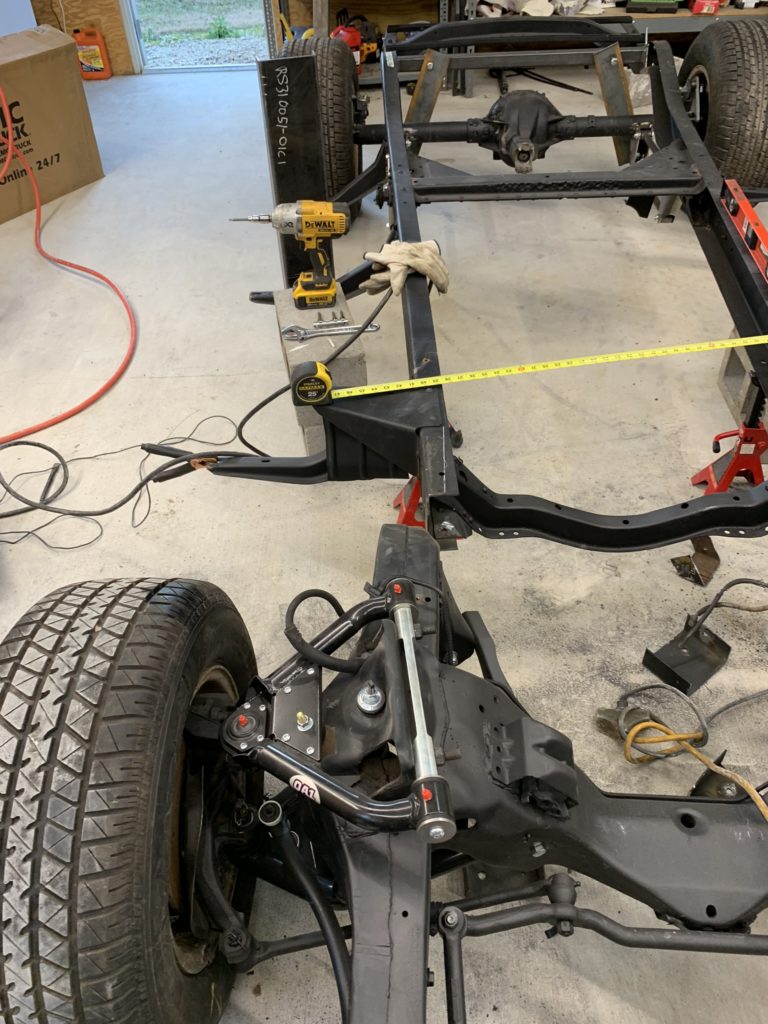
Next item to work on; upgrades to the front Camaro clip. For this build we decided to try some QA1 uppers, lowers and coil overs. A bit pricy but I do believe that it will be money well spent in the end.
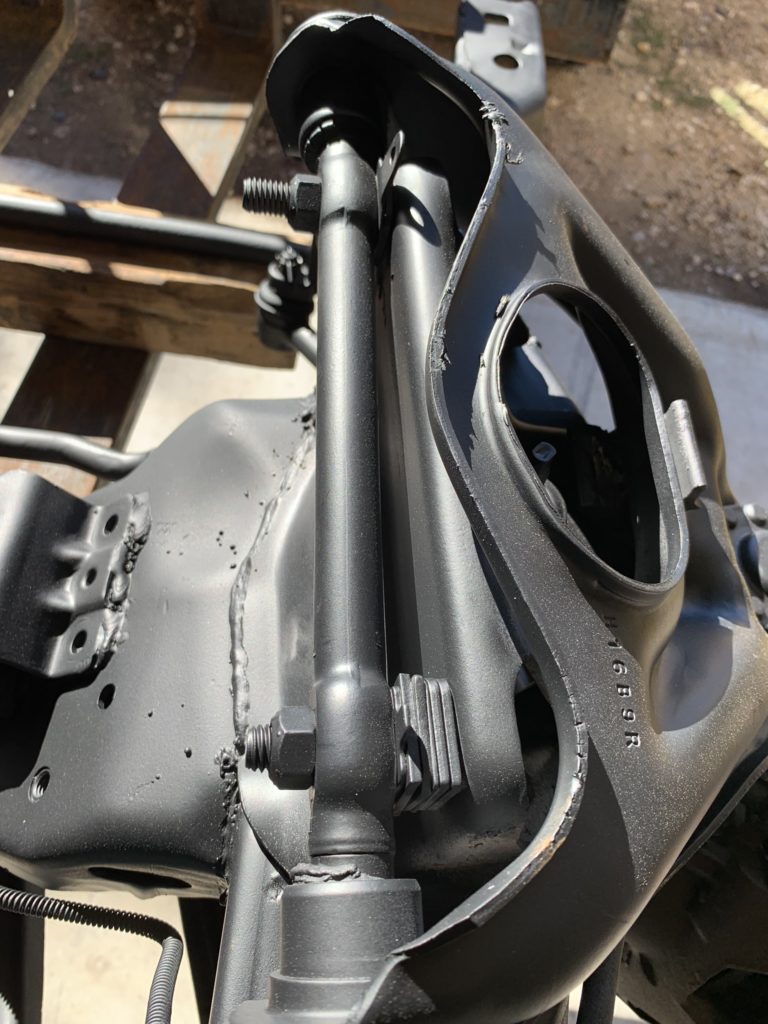
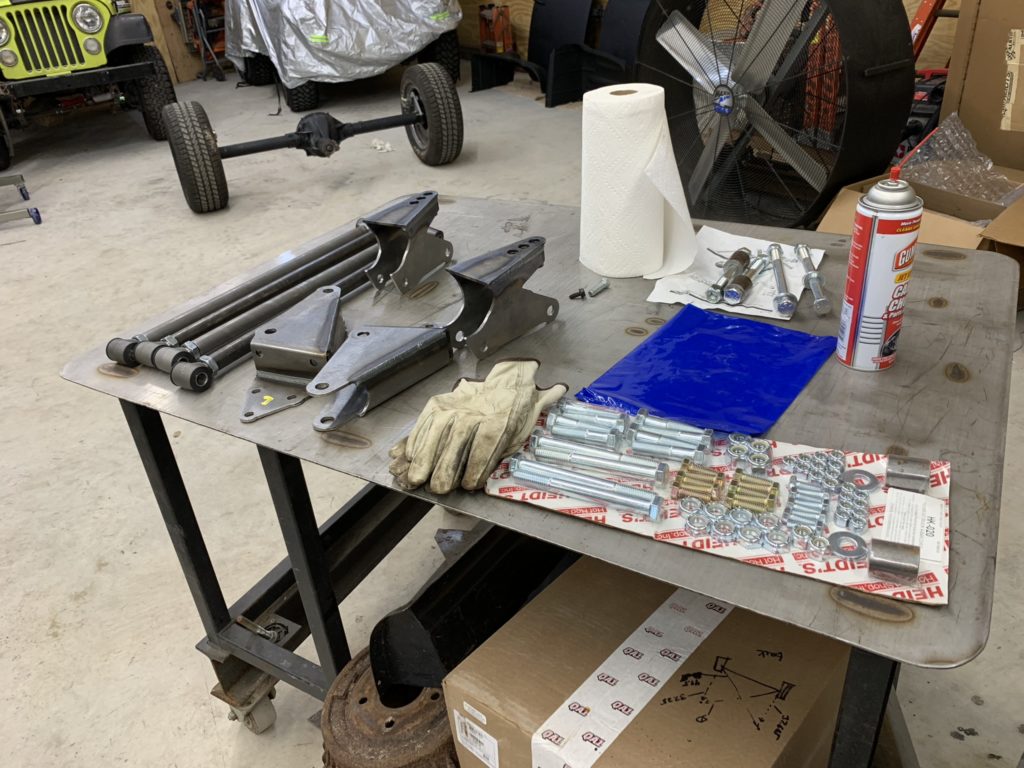
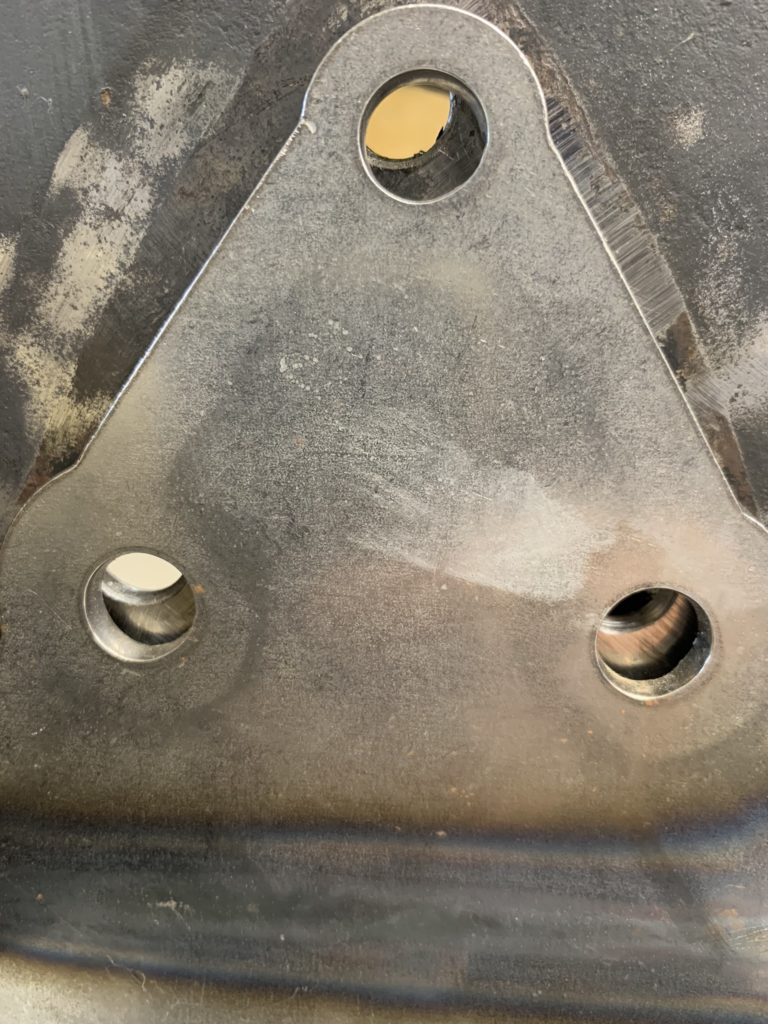
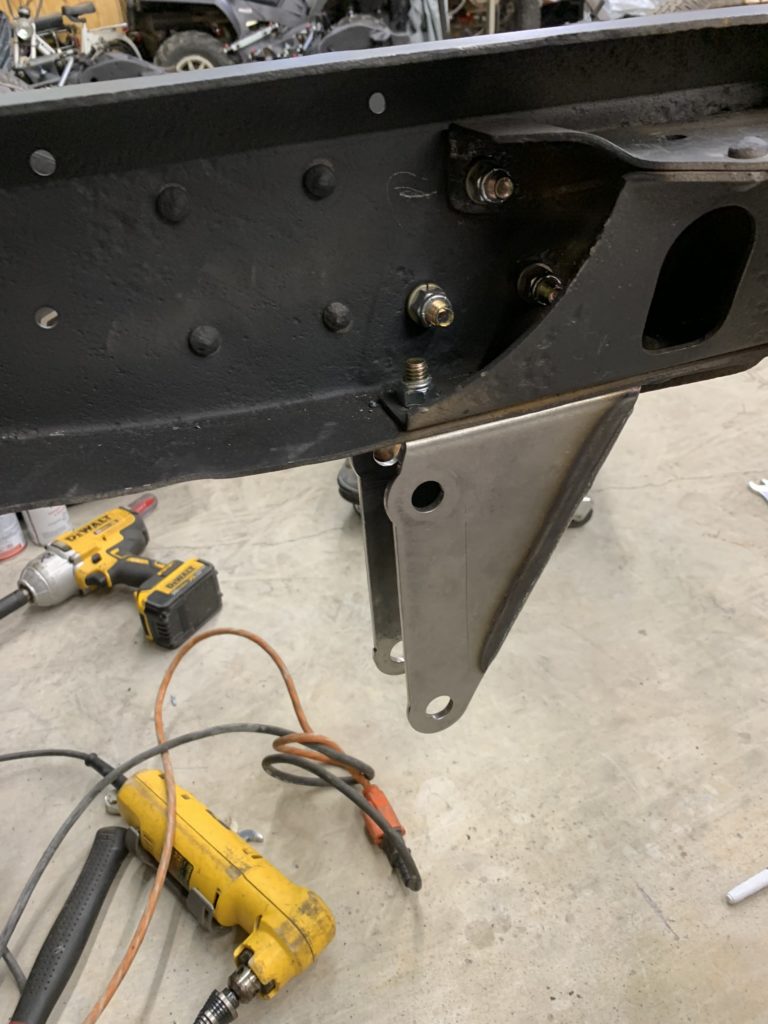
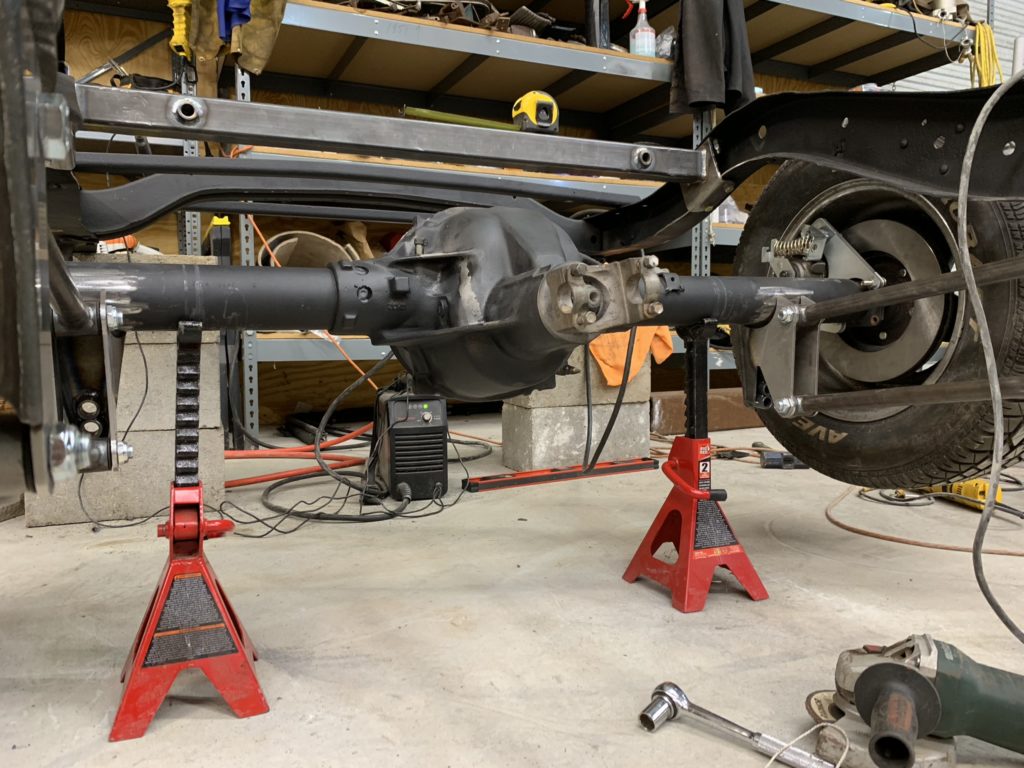
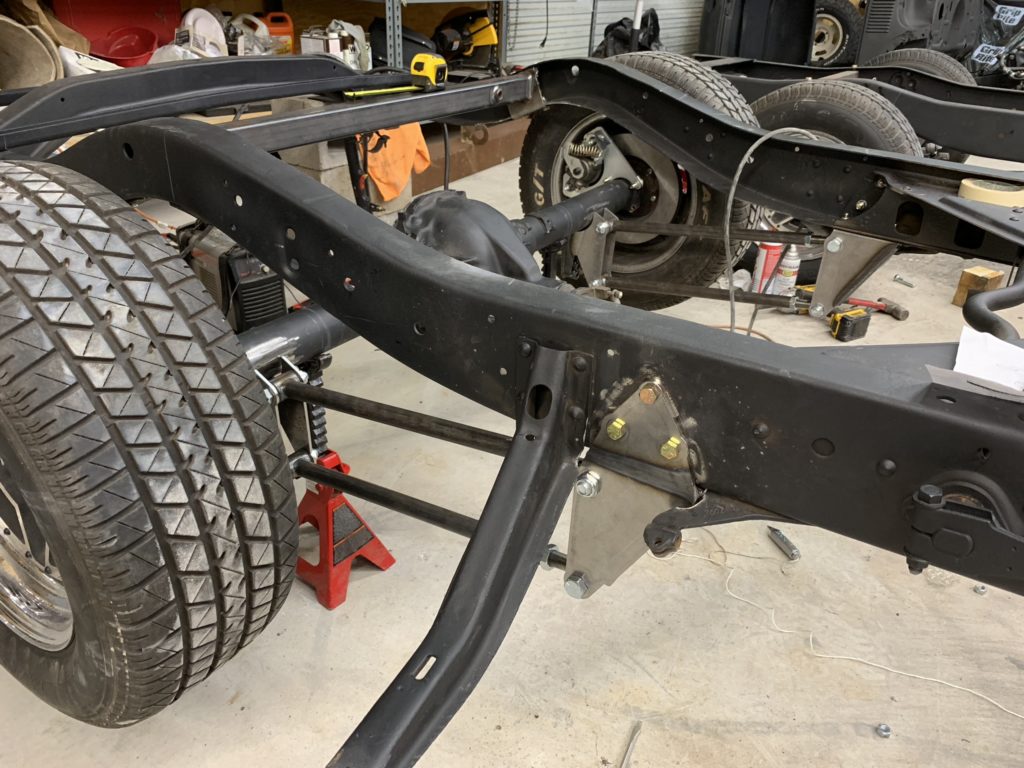
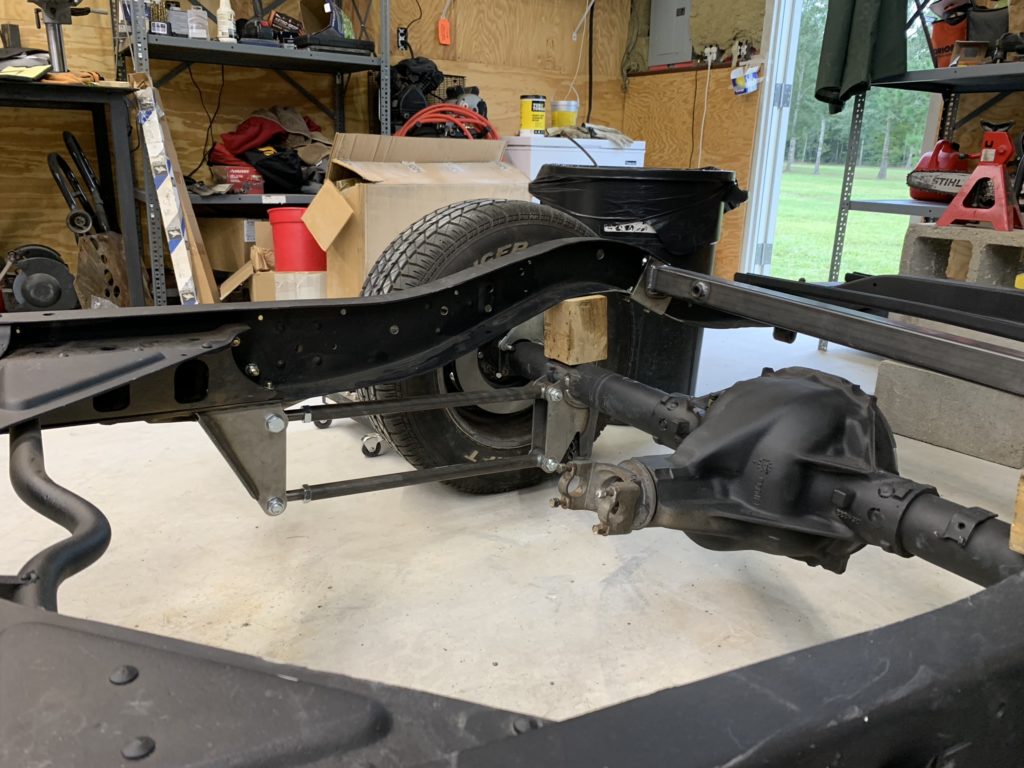
OK so now we are ready to move onto the rear of the chassis and install the 4 link on the new axle. We elected to go with a Heidts 4 link kit on this build, no coil overs yet until we know the ride height. I have to say from doing the 1955 kit first, this kit did NOT bolt right up the same way. We ran into issues on the brackets lining up with the frame holes and had to make some mods.

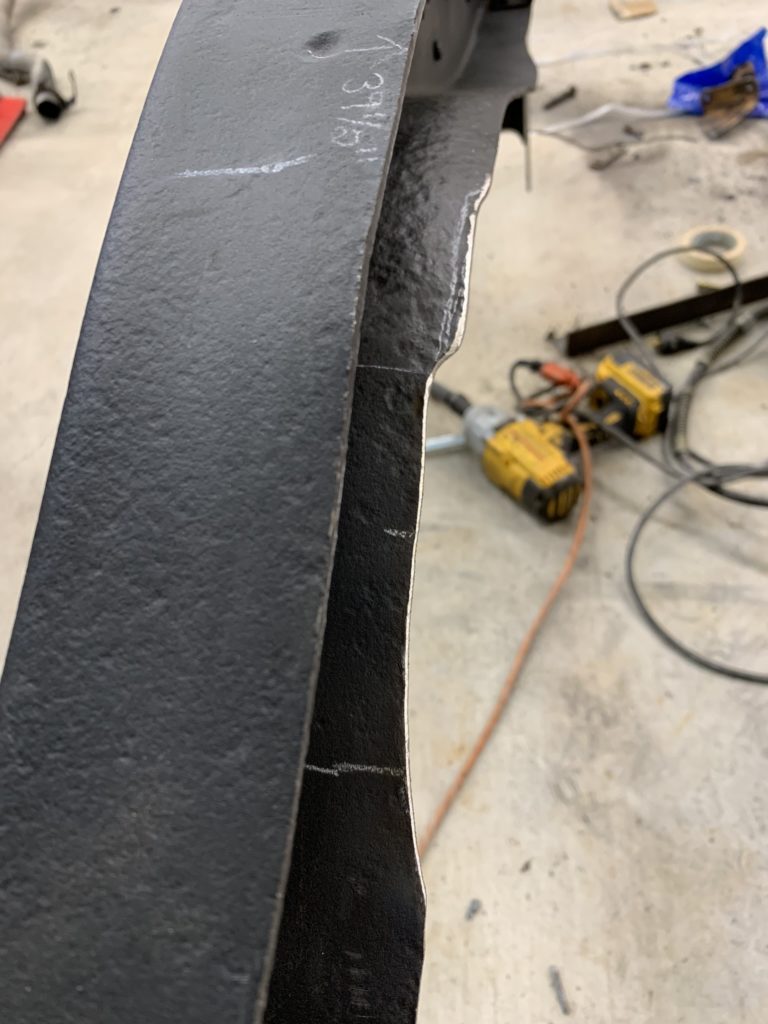
This was a fun and tricky part; the rear frame rails needed to be trimmed to accommodate the new cross member that holds the coil shocks. I wasn’t super thrilled about trimming too much so a little off, check, a little off, check…
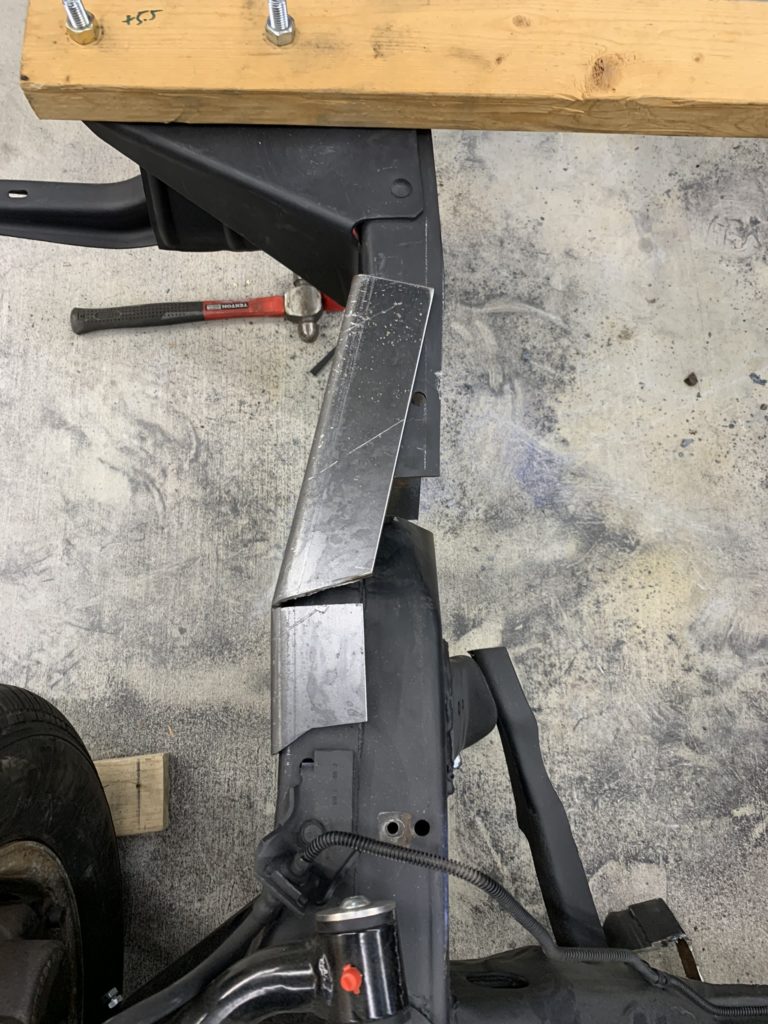
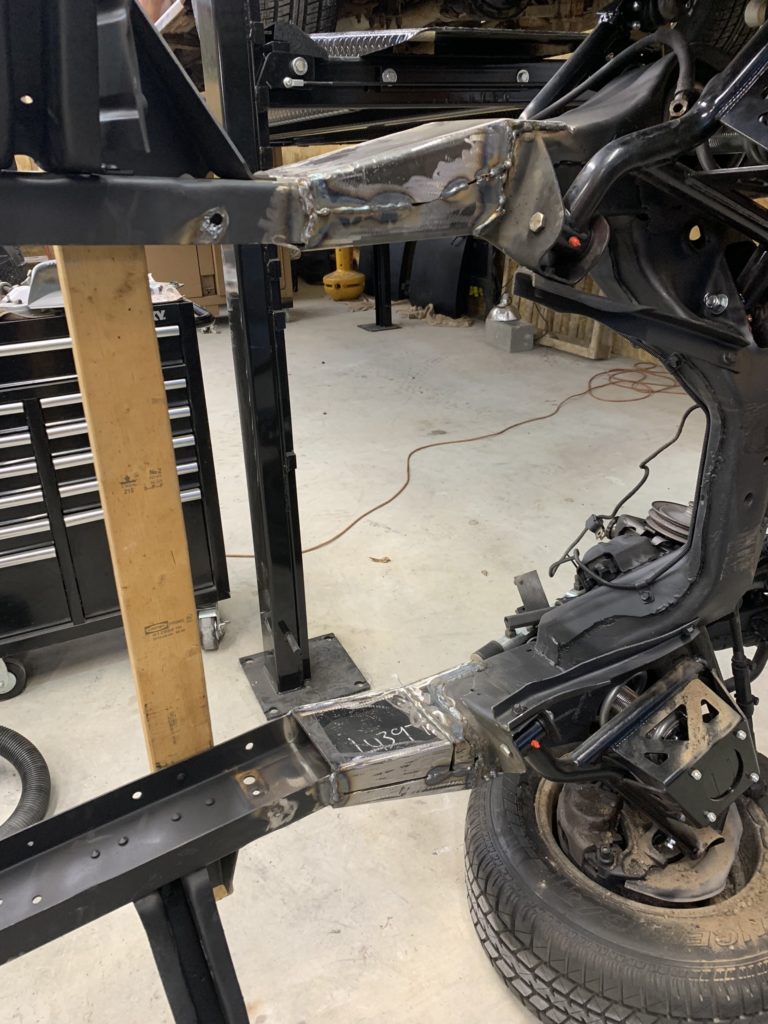
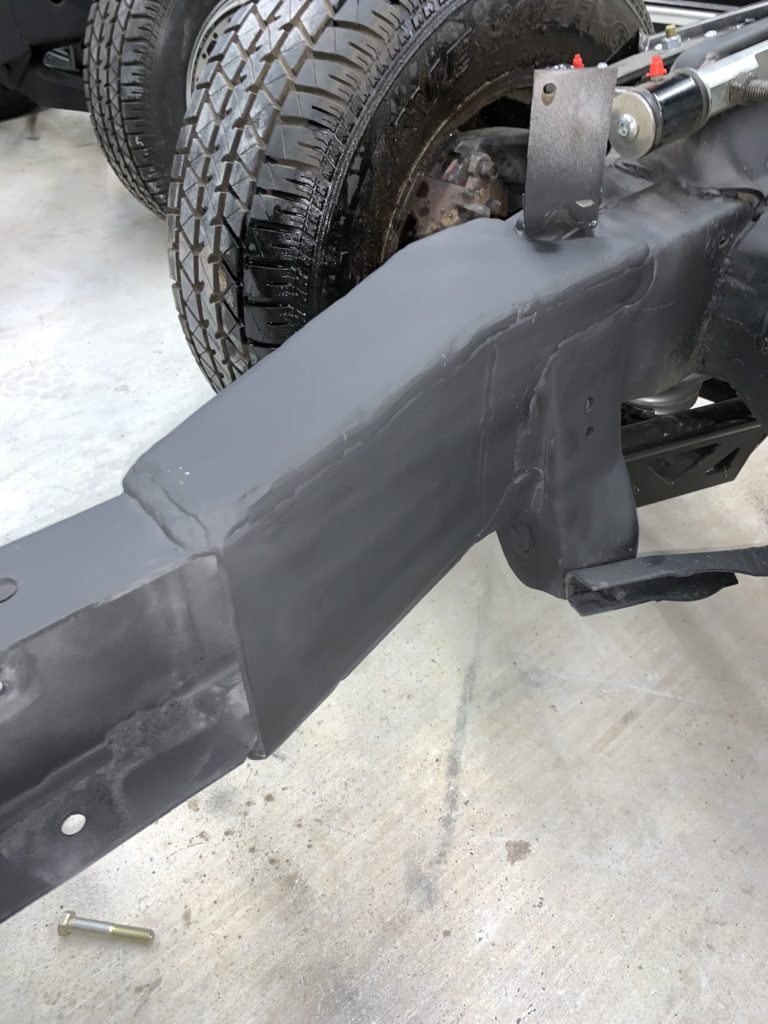
Next the fun part; mating the front clip of the Camaro to the chassis. After taking a few measurements, I do think this one is going to be very tricky and no where as easy (nothing is easy) as the 55-59 series. The 47-54 chassis is narrowing at 3.9 degreed starting at the back side of the frame hump over the rear end and continues to the front edge of the frame. Out Camaro front does not narrow but stays straight and is something like 8″ wider. Should be a treat!
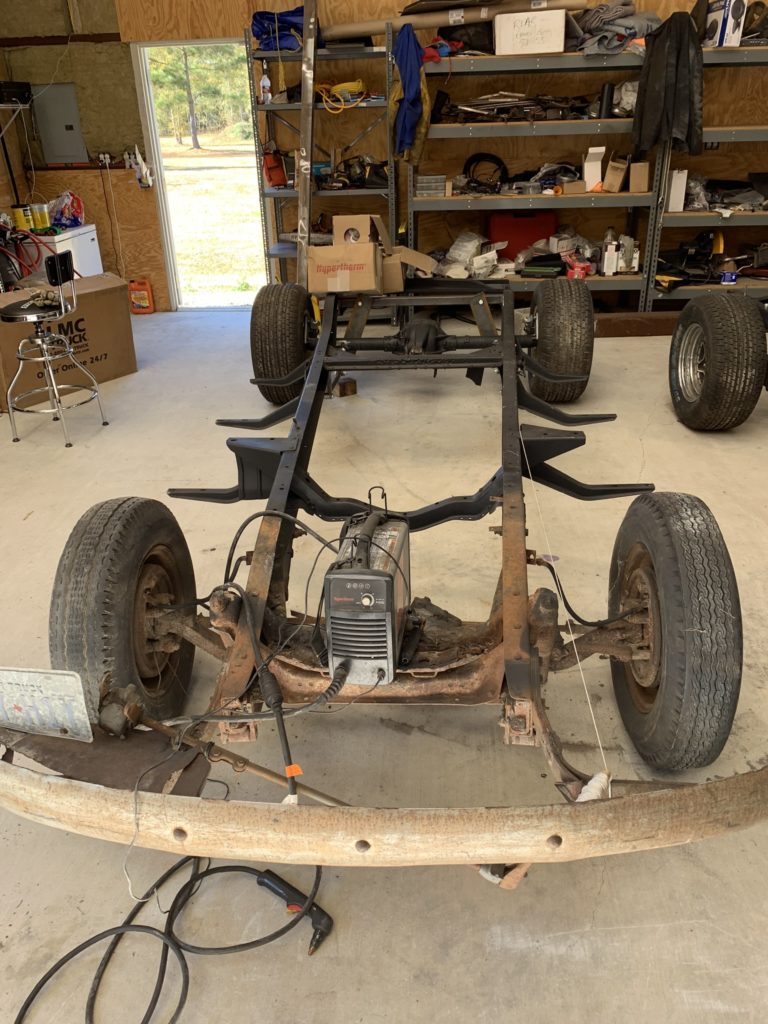
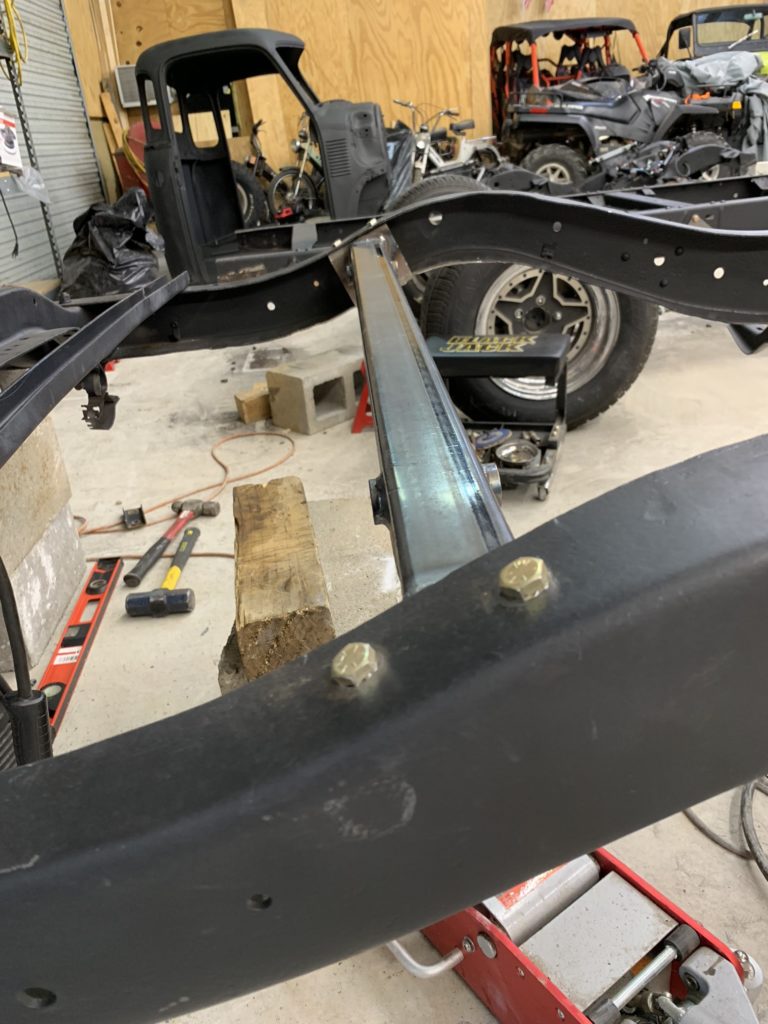
In case you are using this blog as a guide, note the wood bolted down: make sure to brace your frame before you cut the old front clip off.

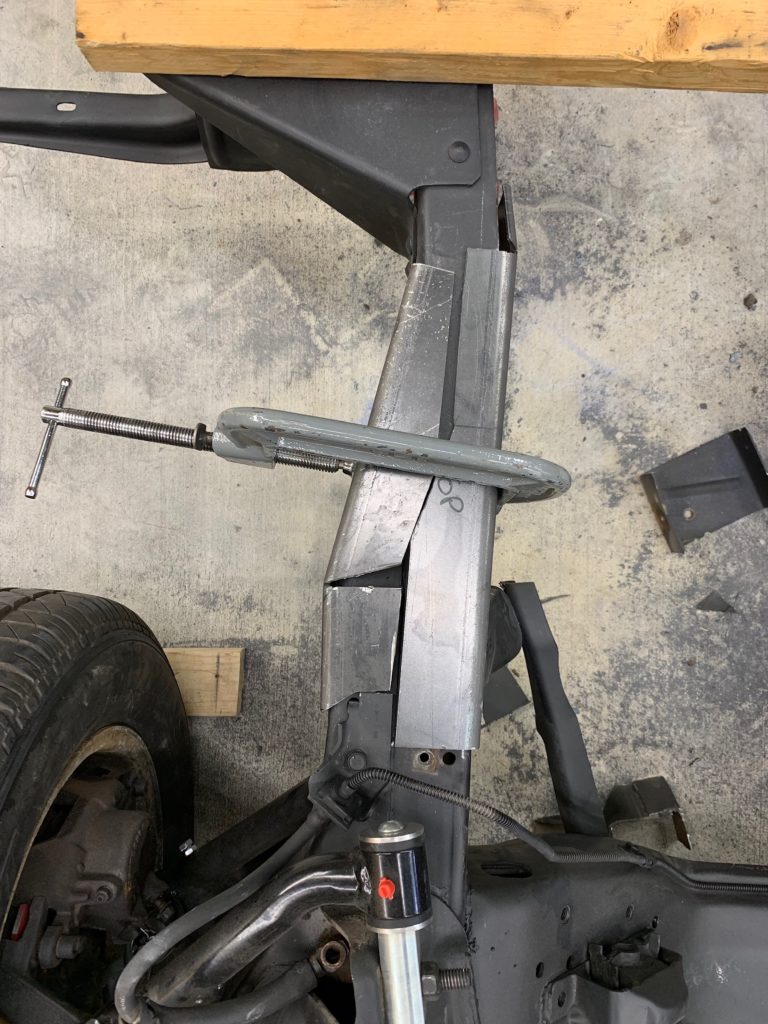
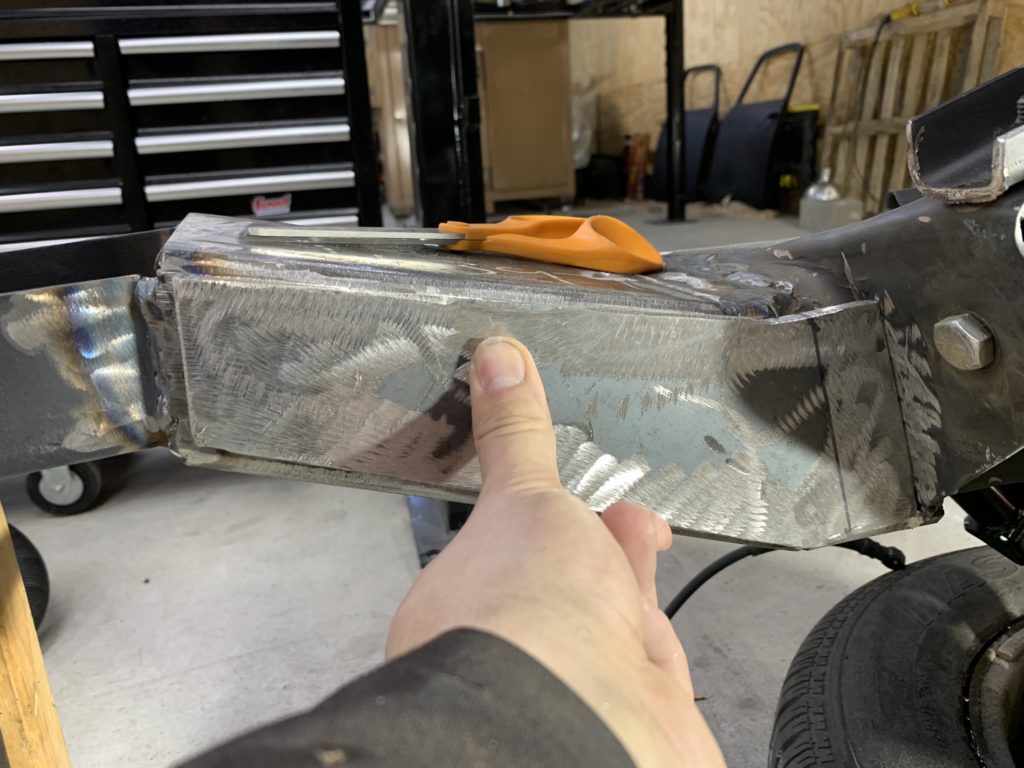
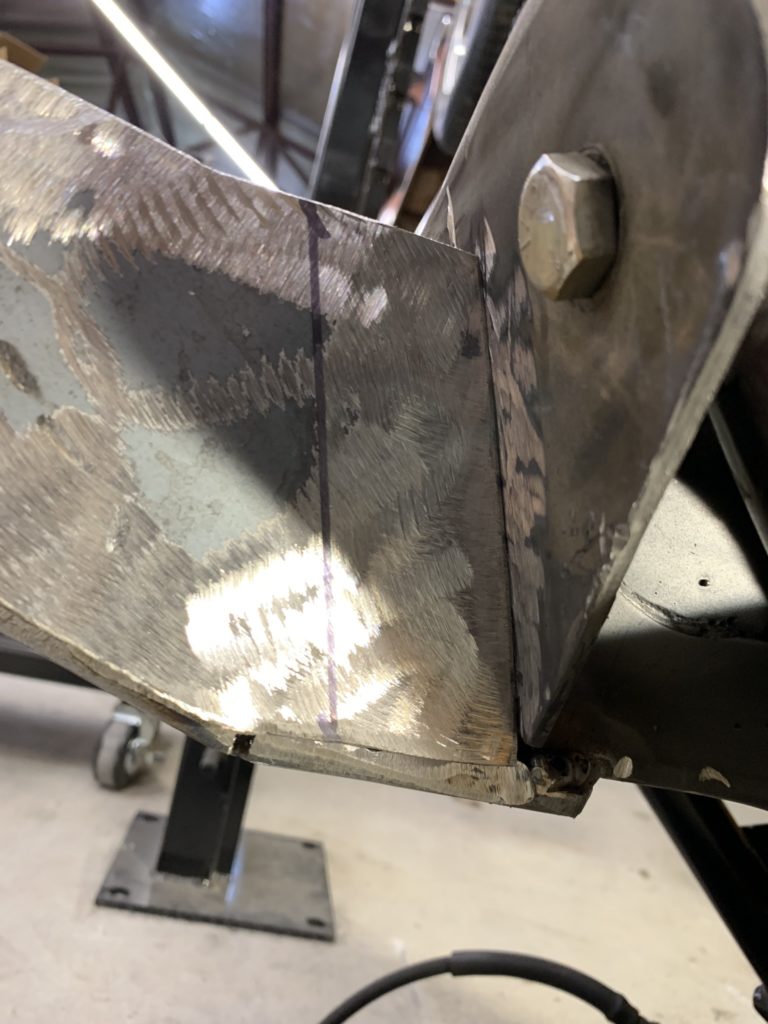
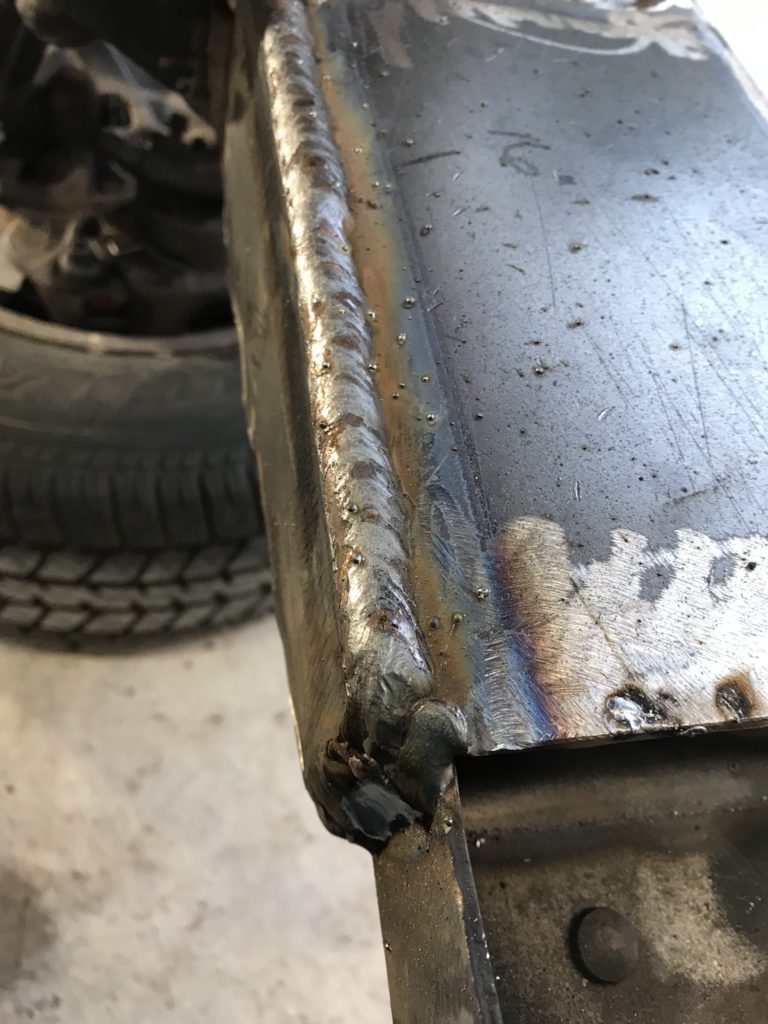
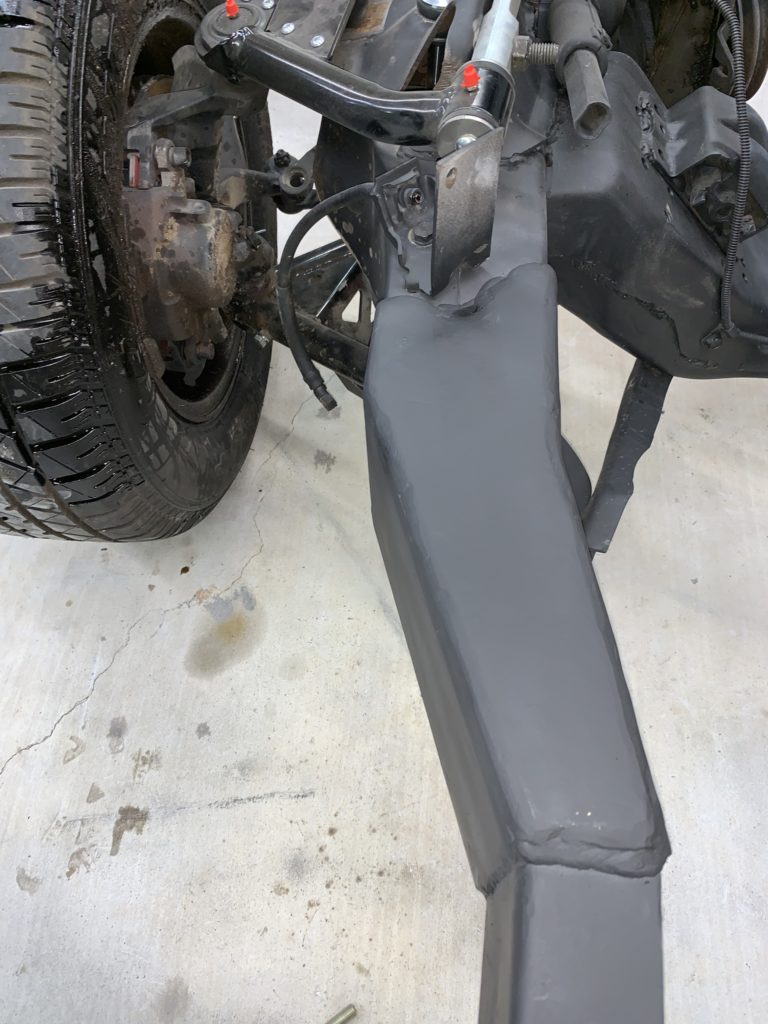
A few hours of cut, bend, beating and fitting, we have a mate. Don’t worry about the slight gap in the plate, that will be gone in a minute
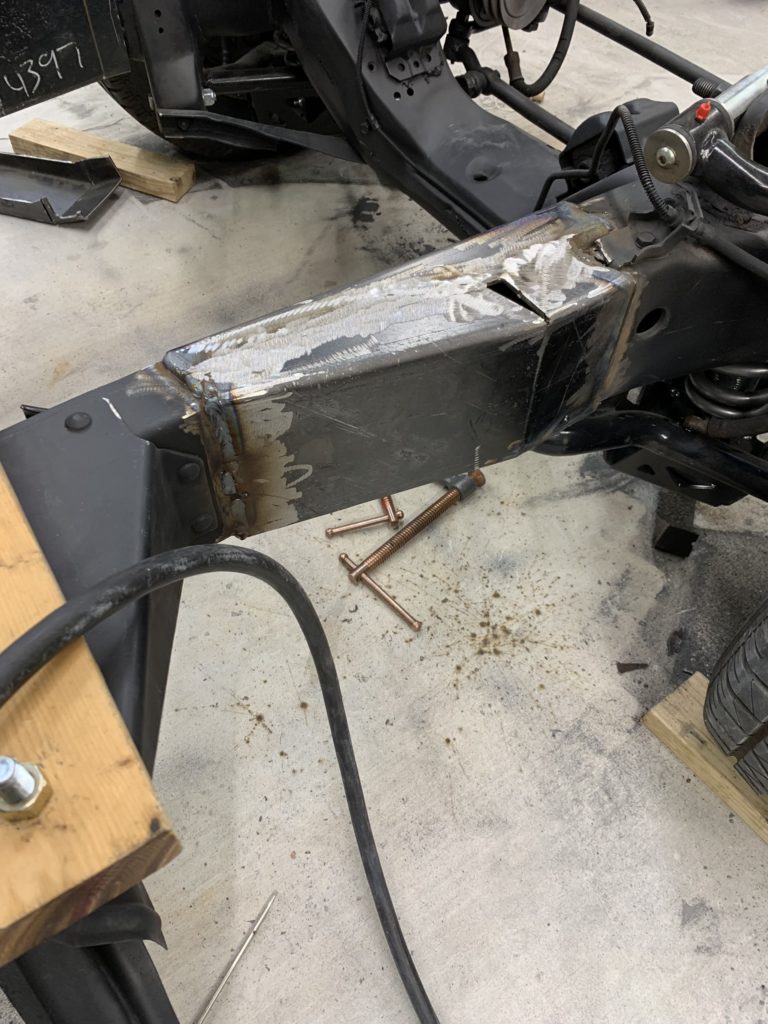
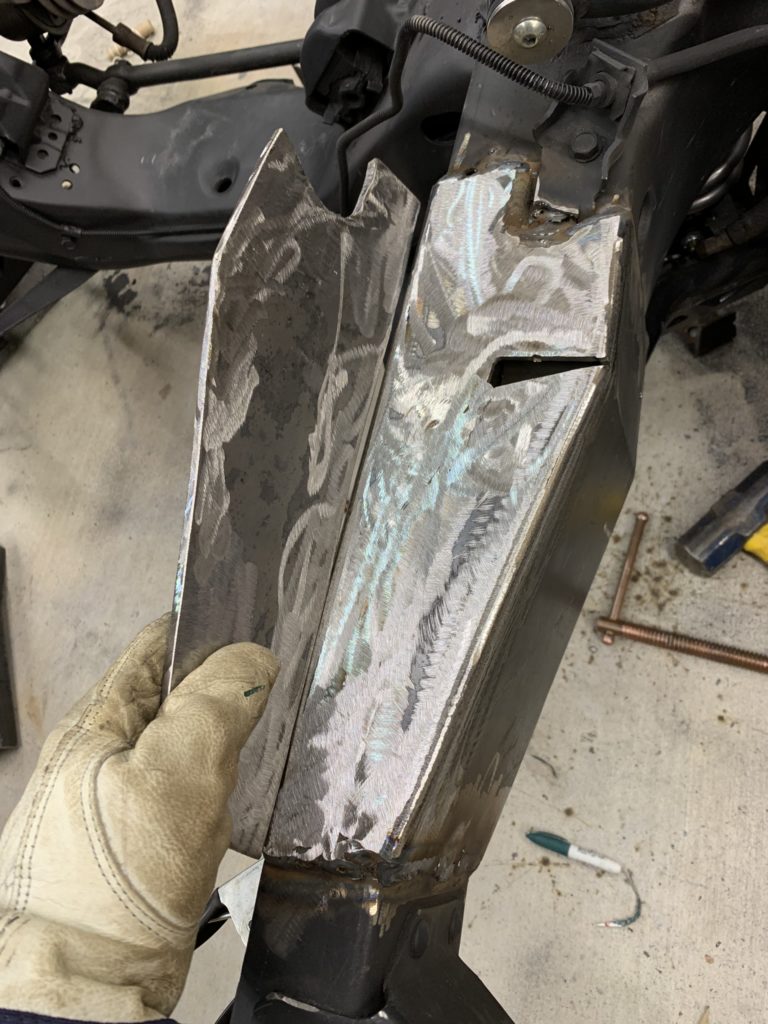
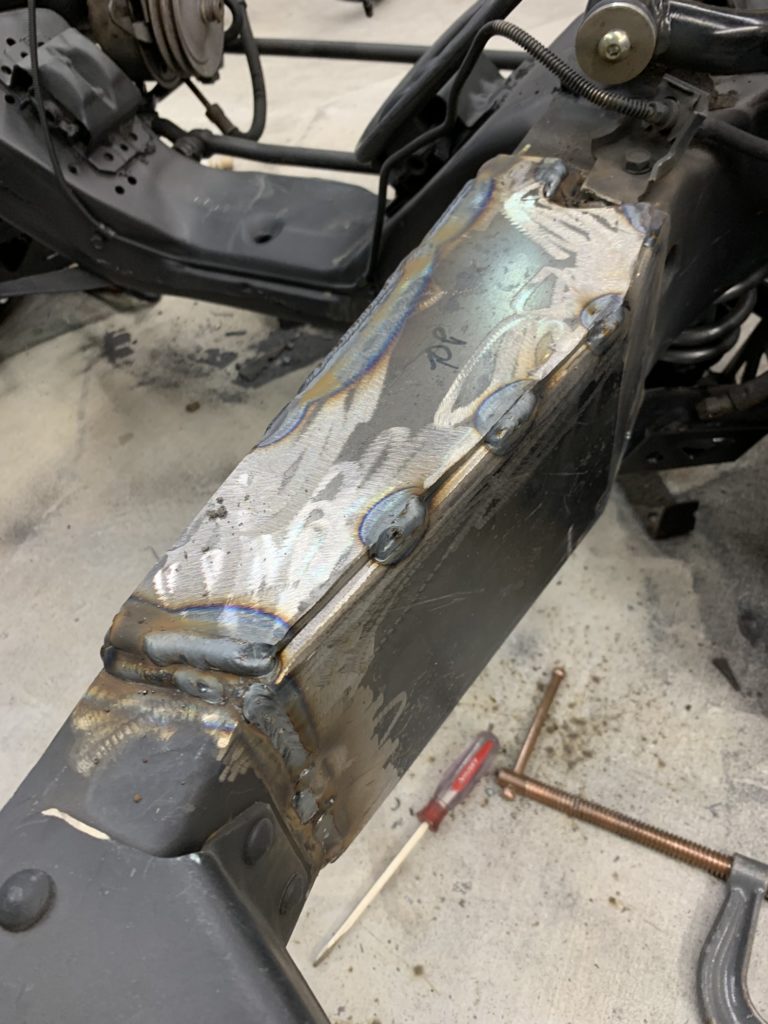
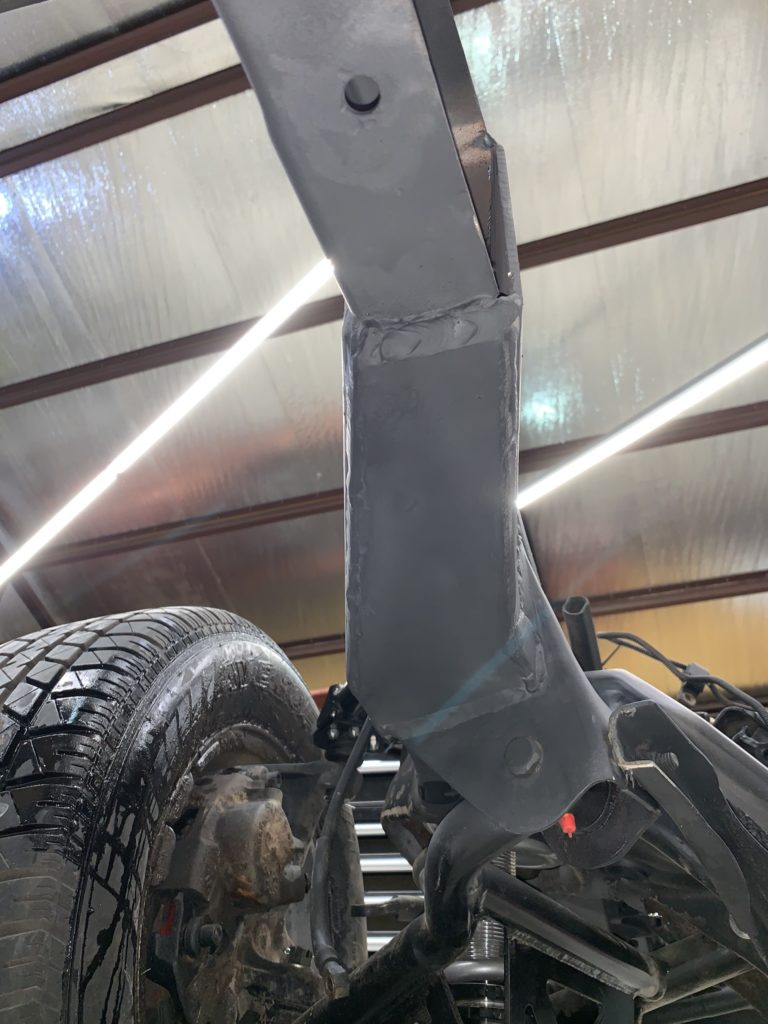
So we plated over the top to give the mate strength and also a really nice and clean overall look. Now the fun part: fitting the bottom and welding upside down.
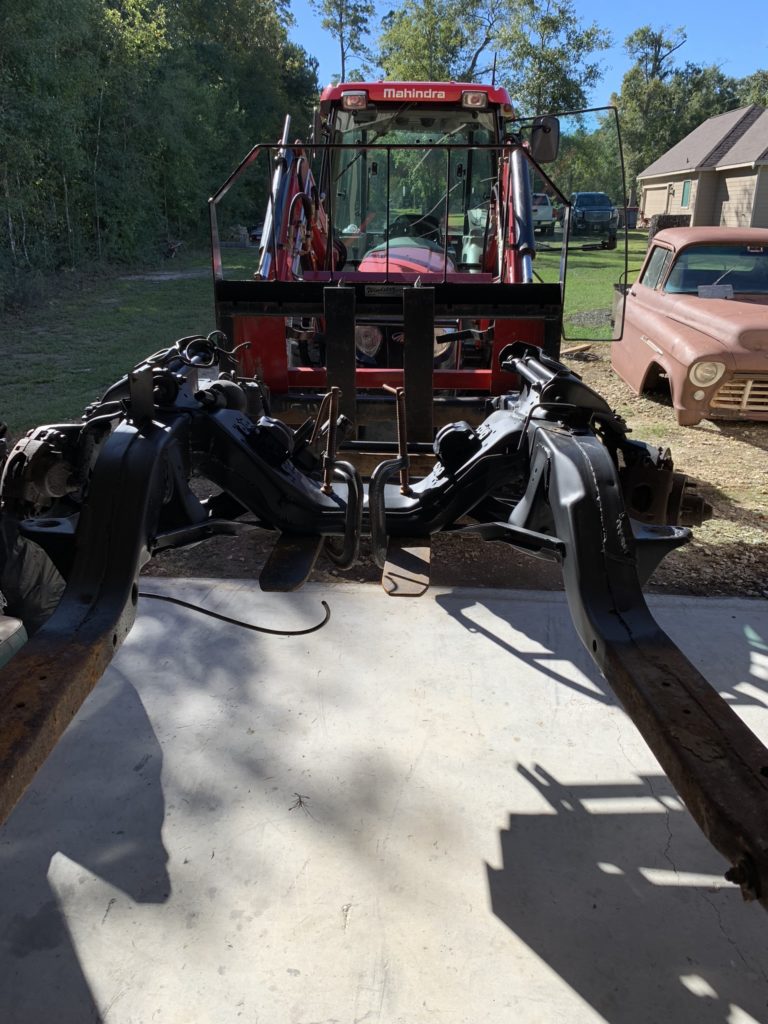
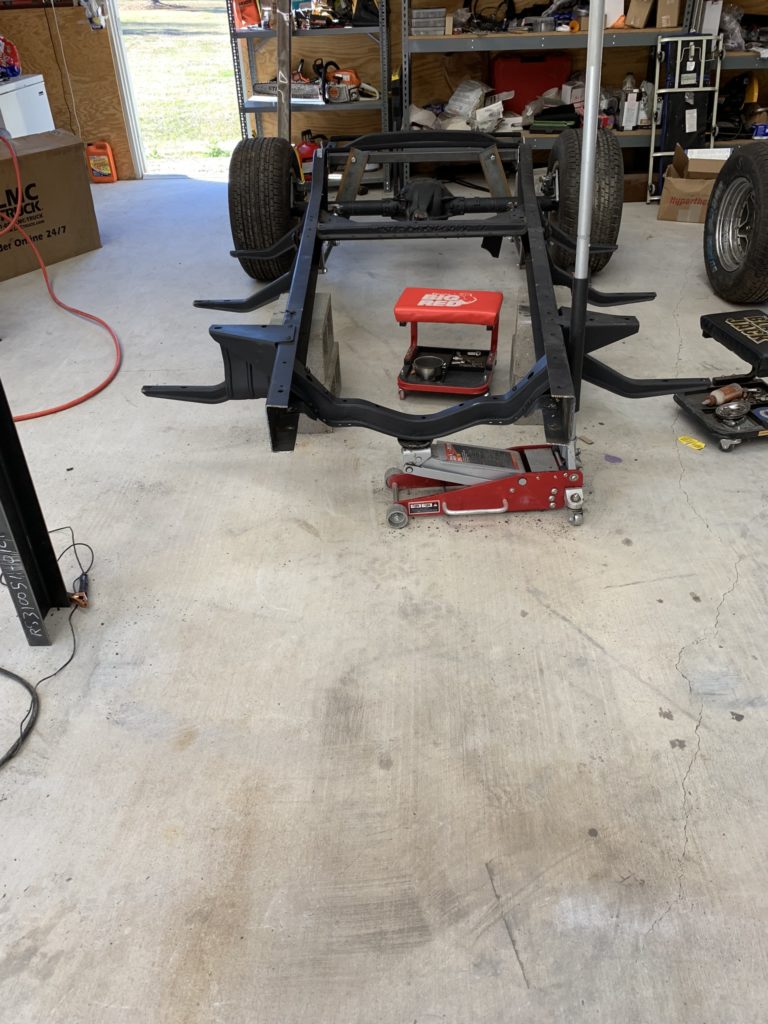
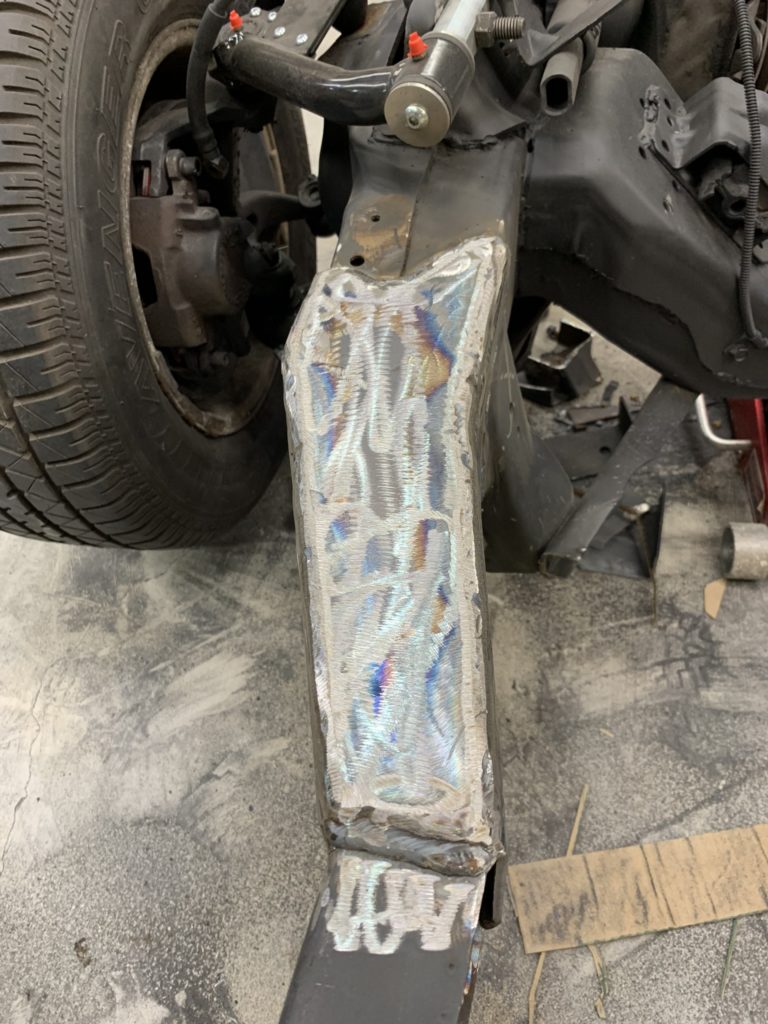
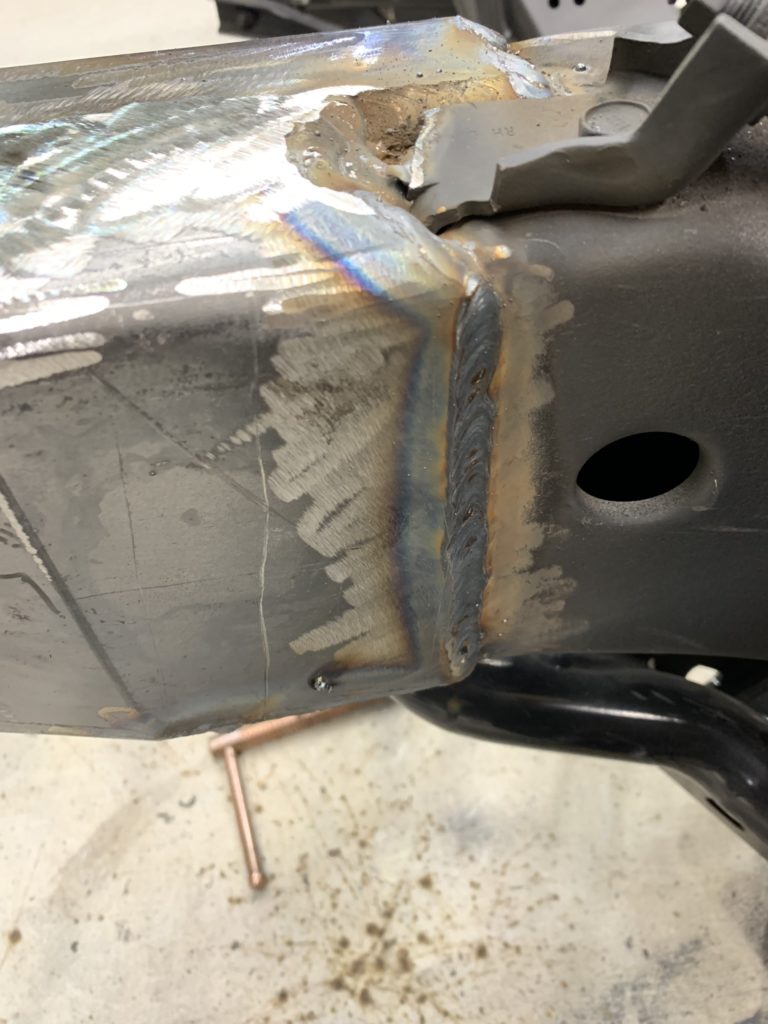
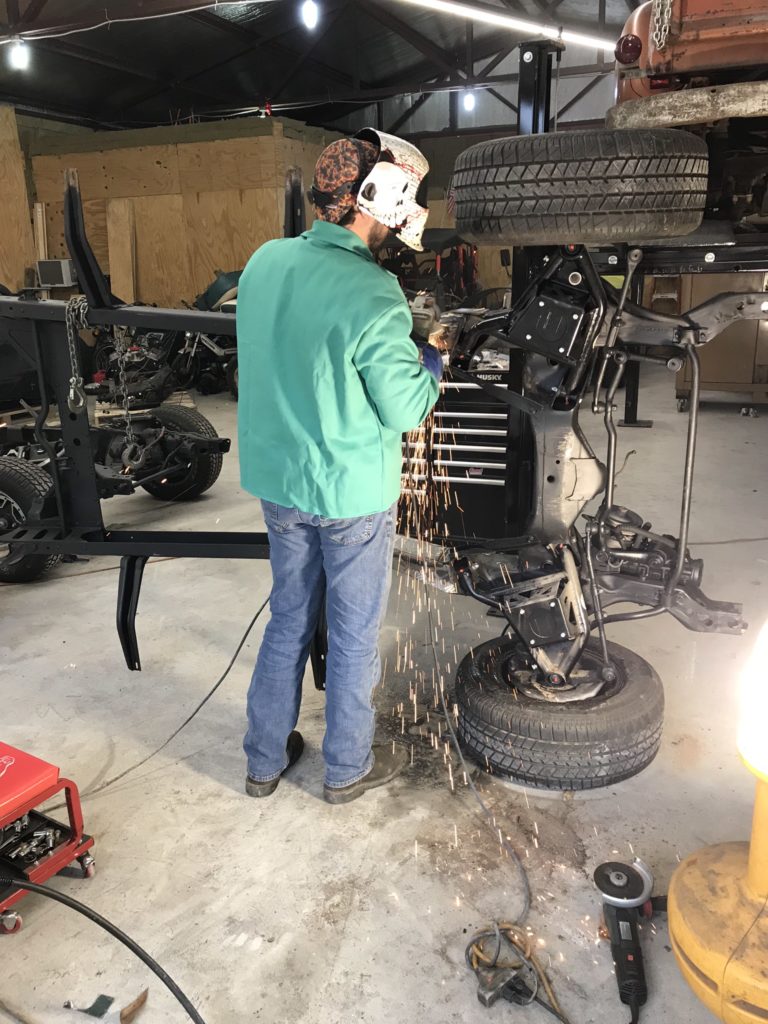
Just kidding! Don’t ever forget to use your resources and make the work easier for yourself. We got took the tractor back out and flipped the chassis on one side, then the other. Maybe a frame rotisserie is in the future…
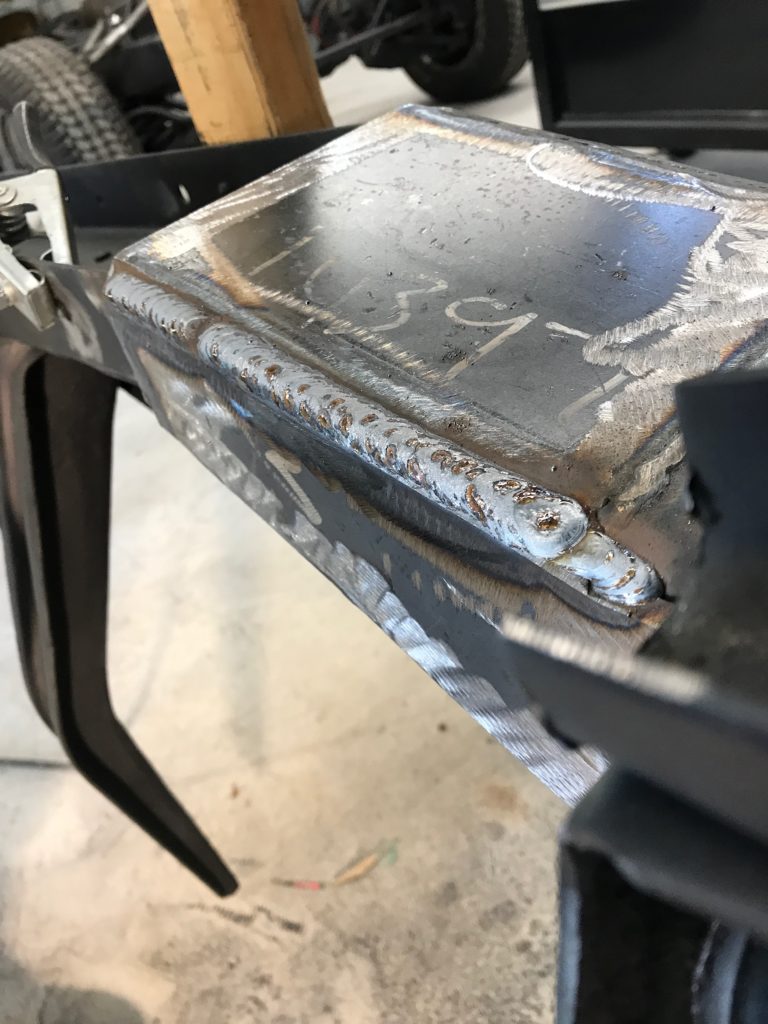
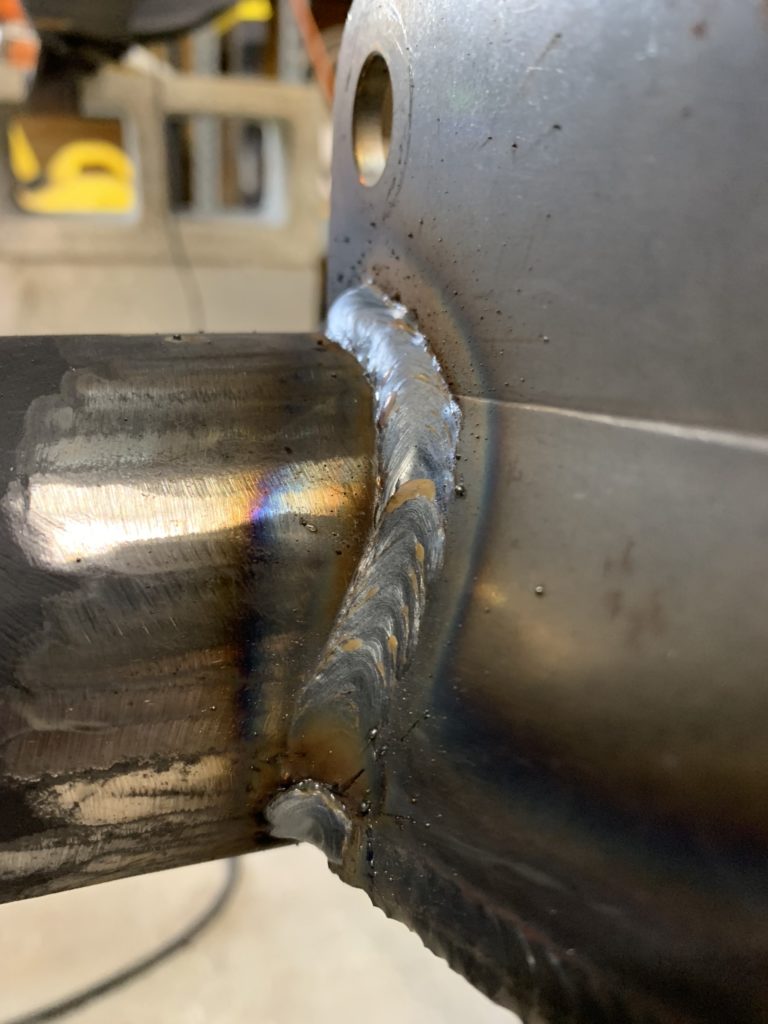
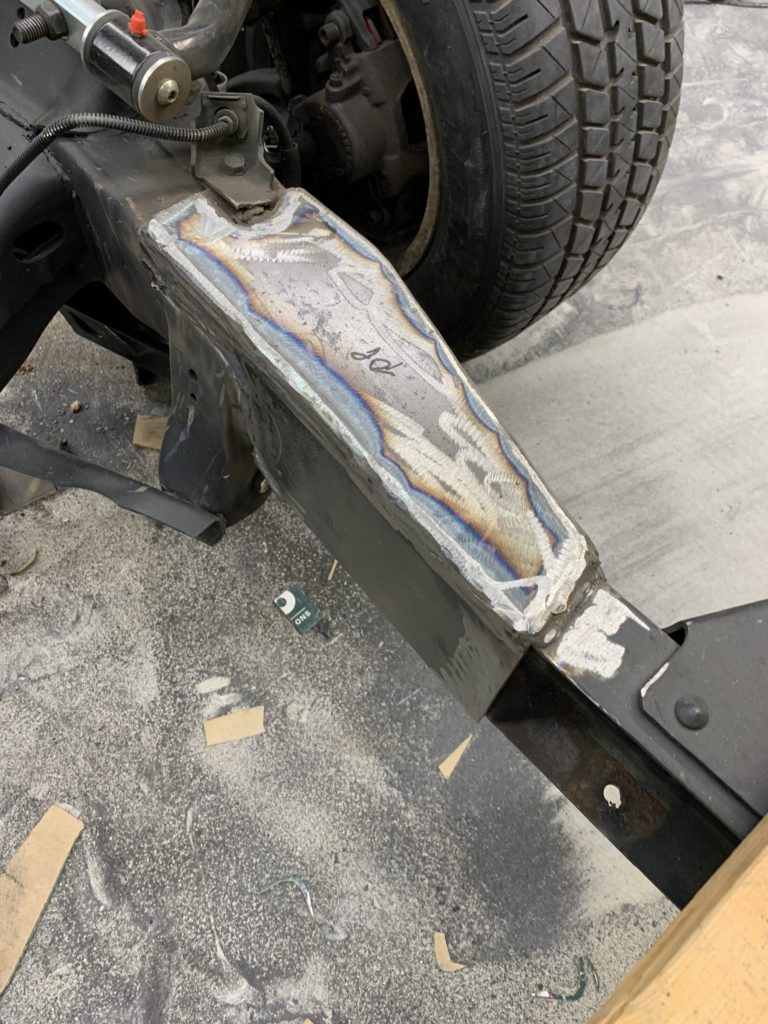
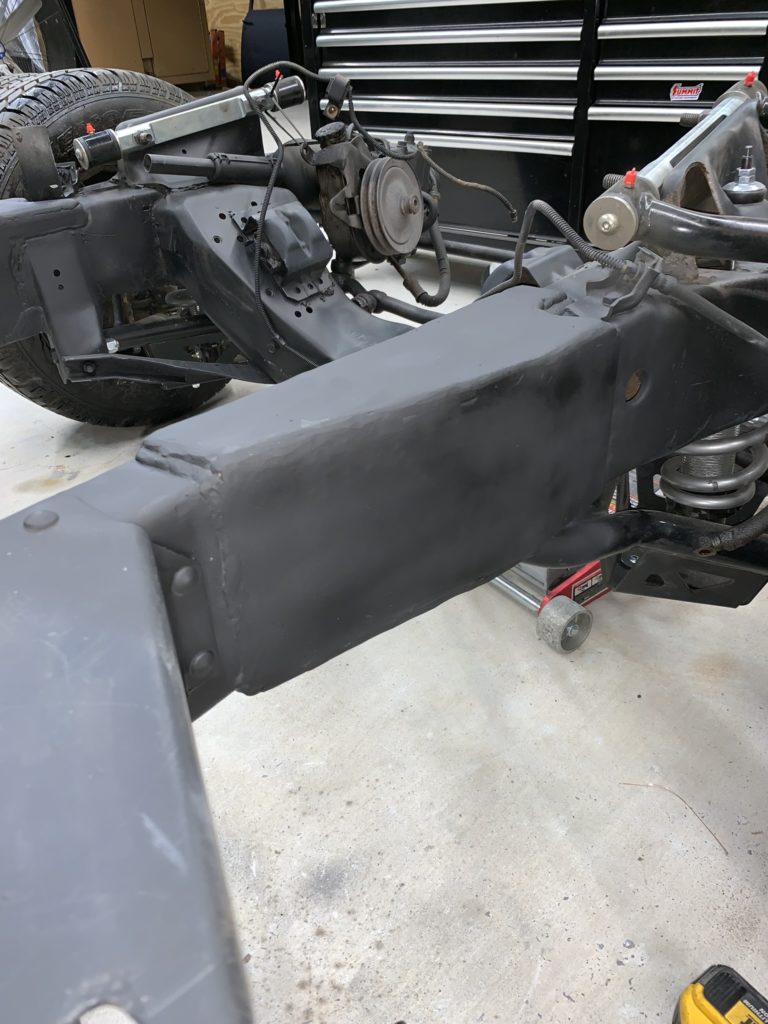
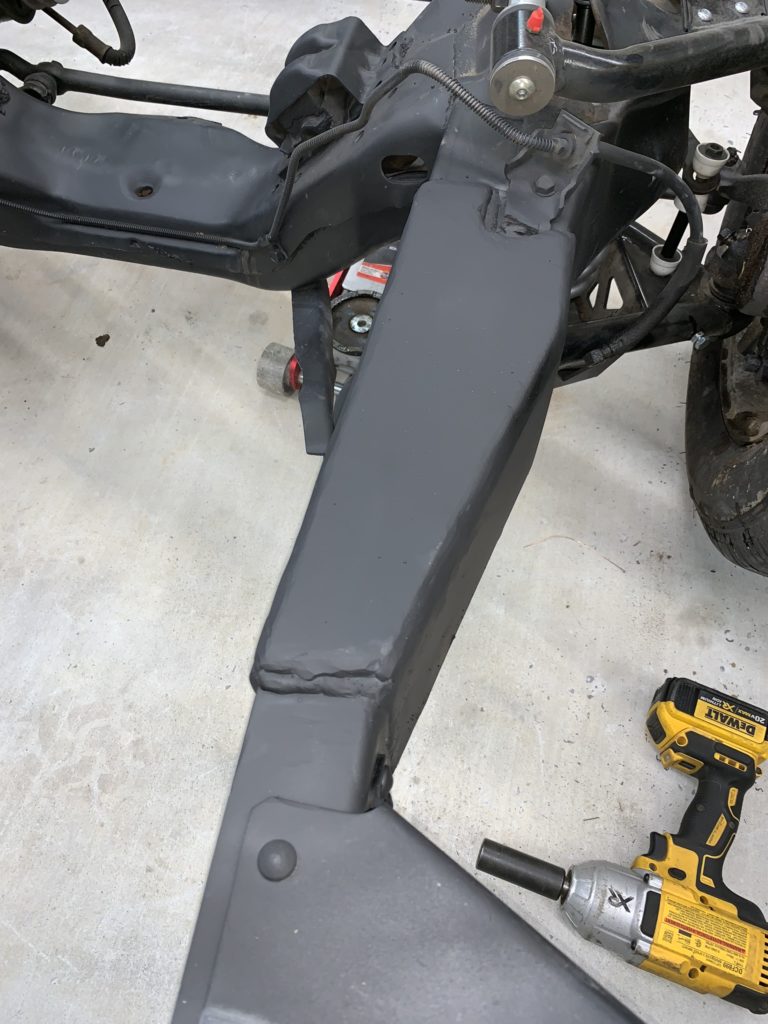
And with that final welding we are all set with the front mate! Some cleaner, touch up paint and were ready to get to the next battle
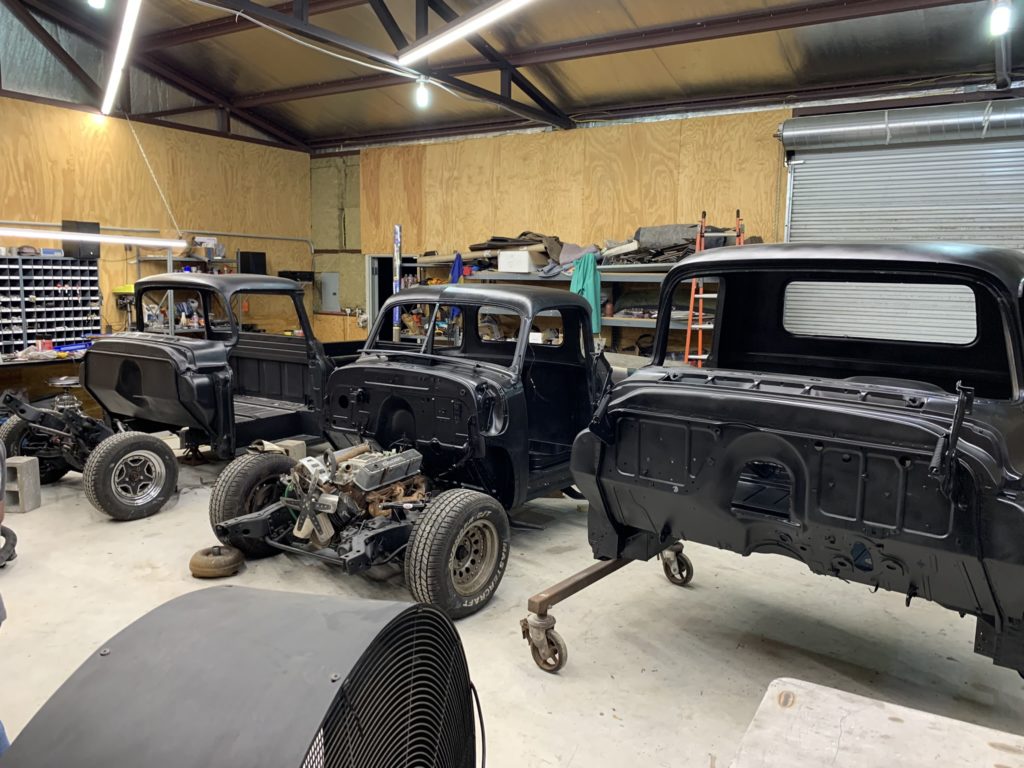
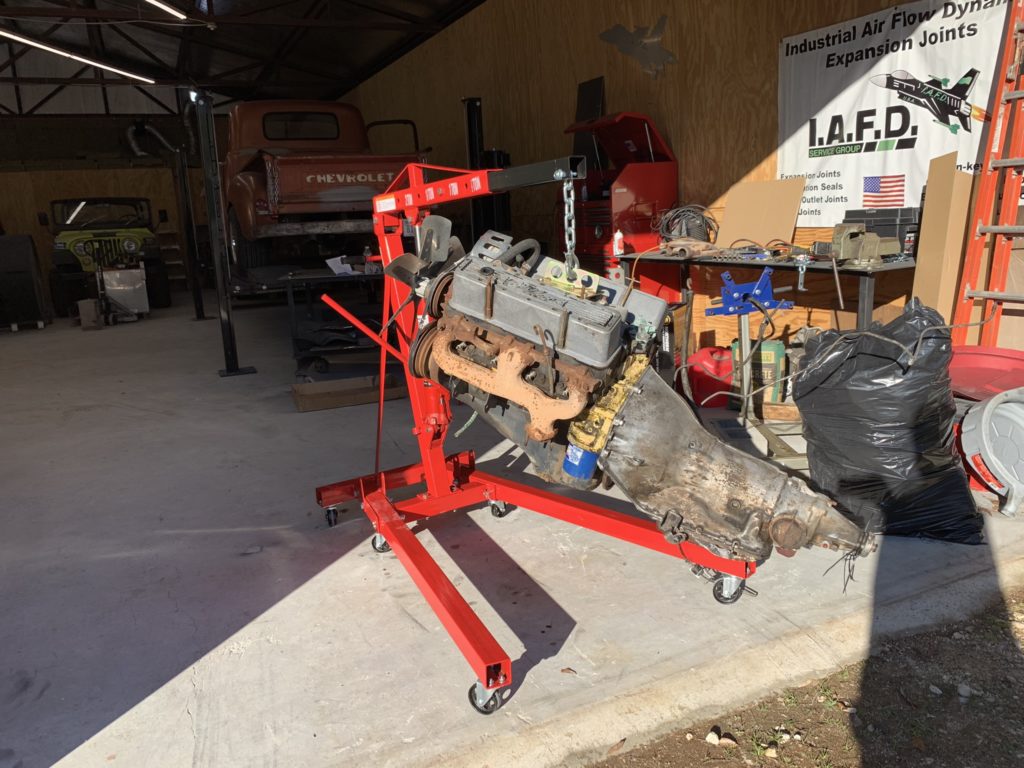
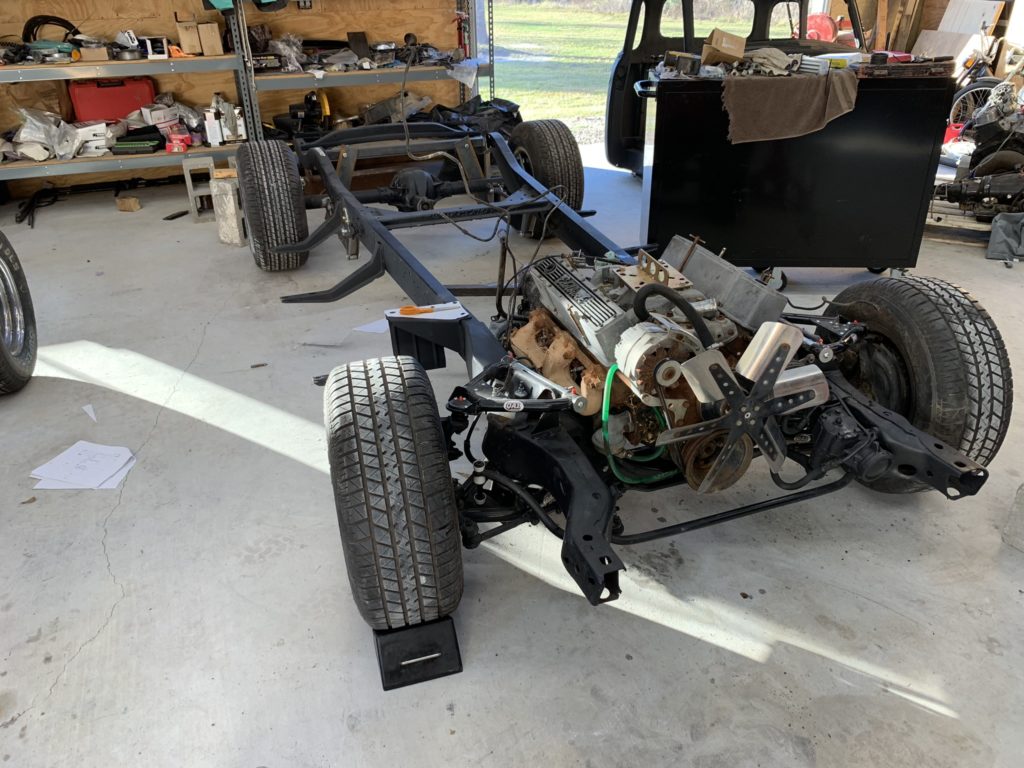
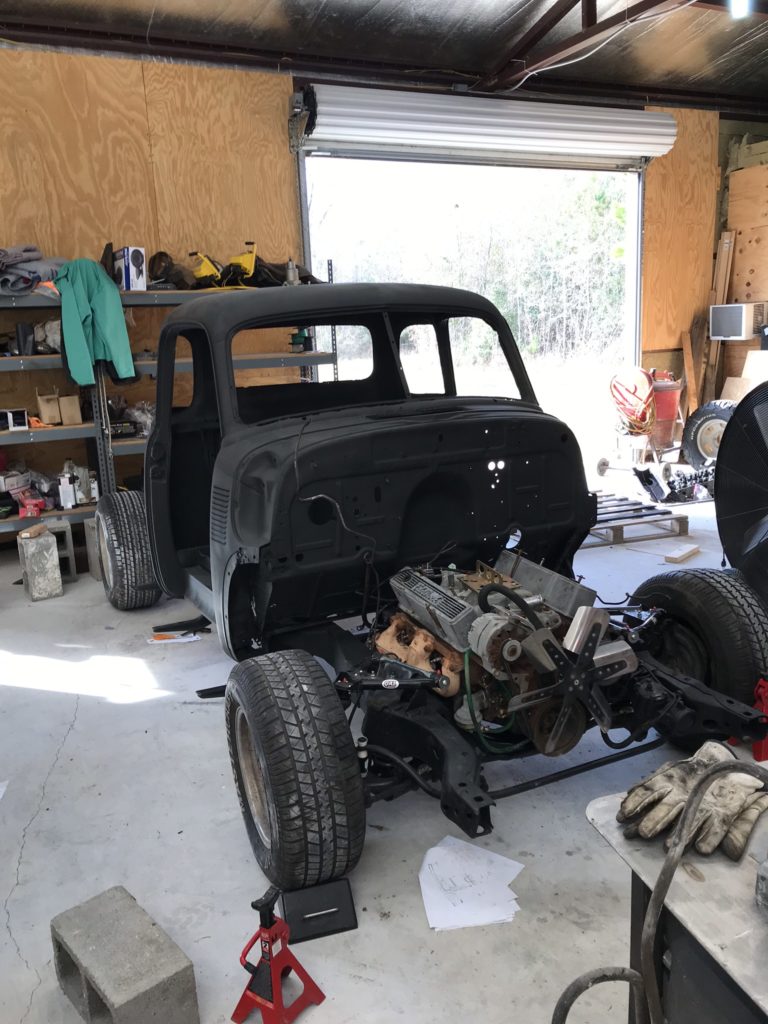
With the chassis looking good for now we decided to toss a motor and the cab on and do a little mock fit up to see what work we need to get to next.
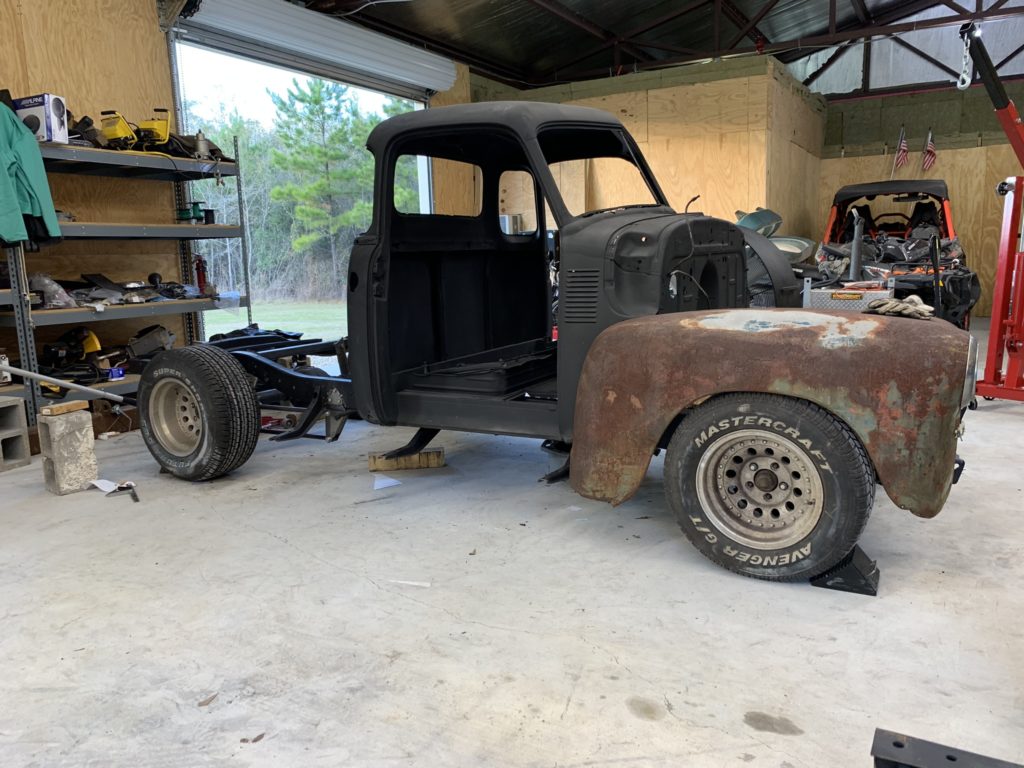
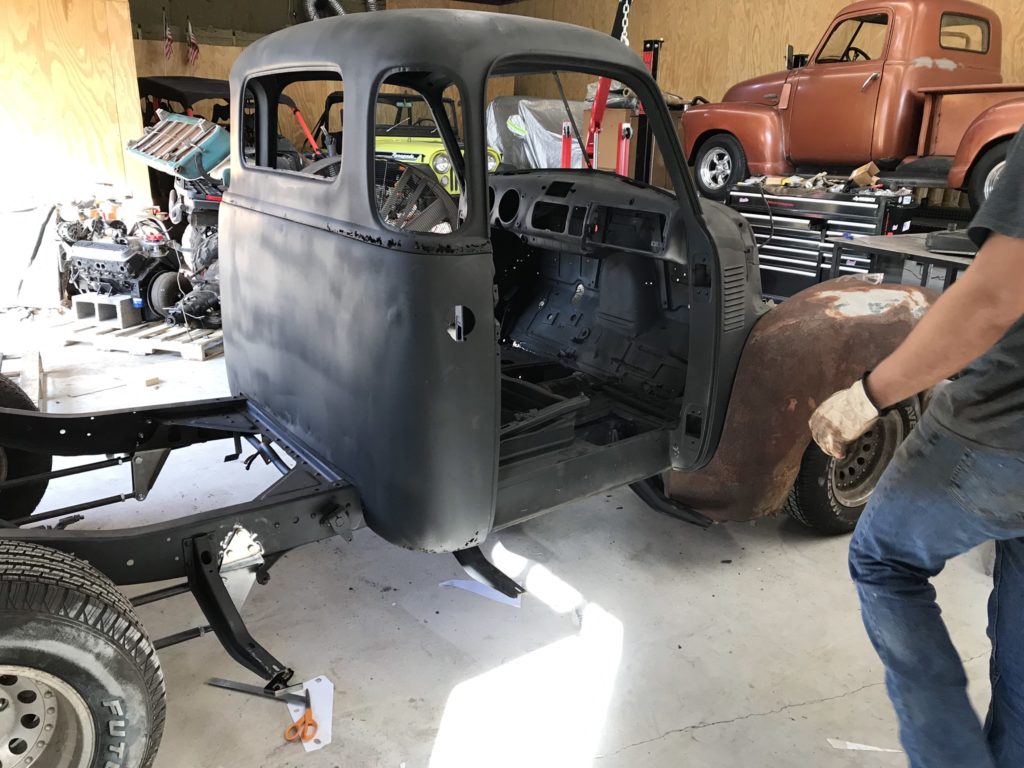
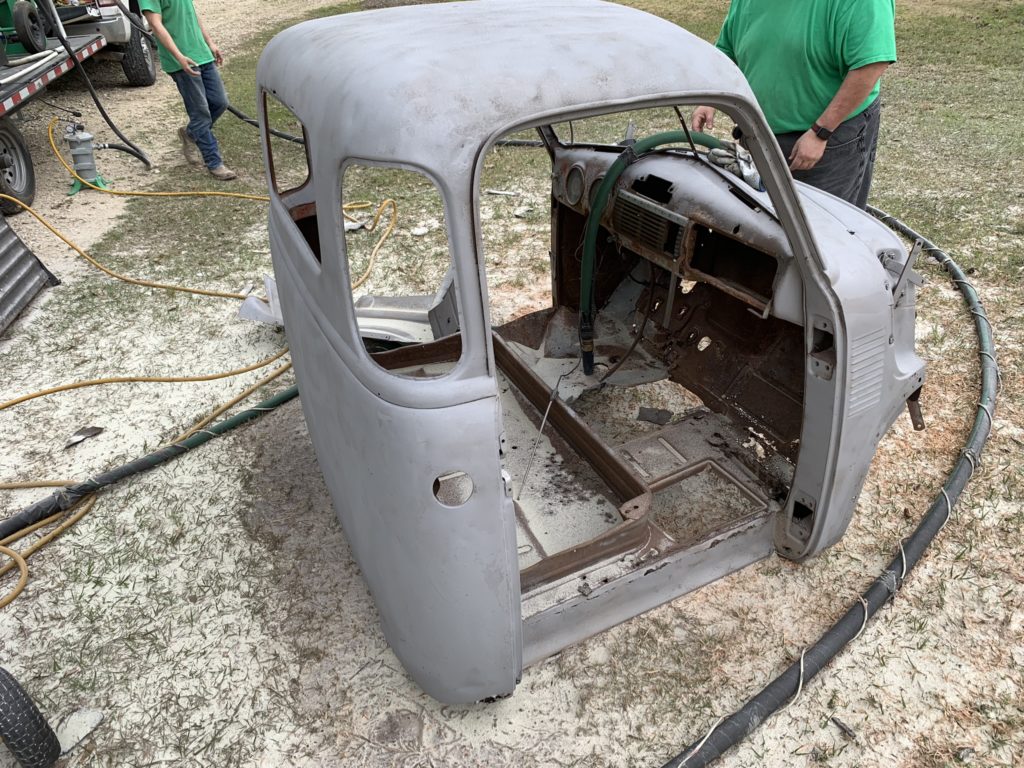
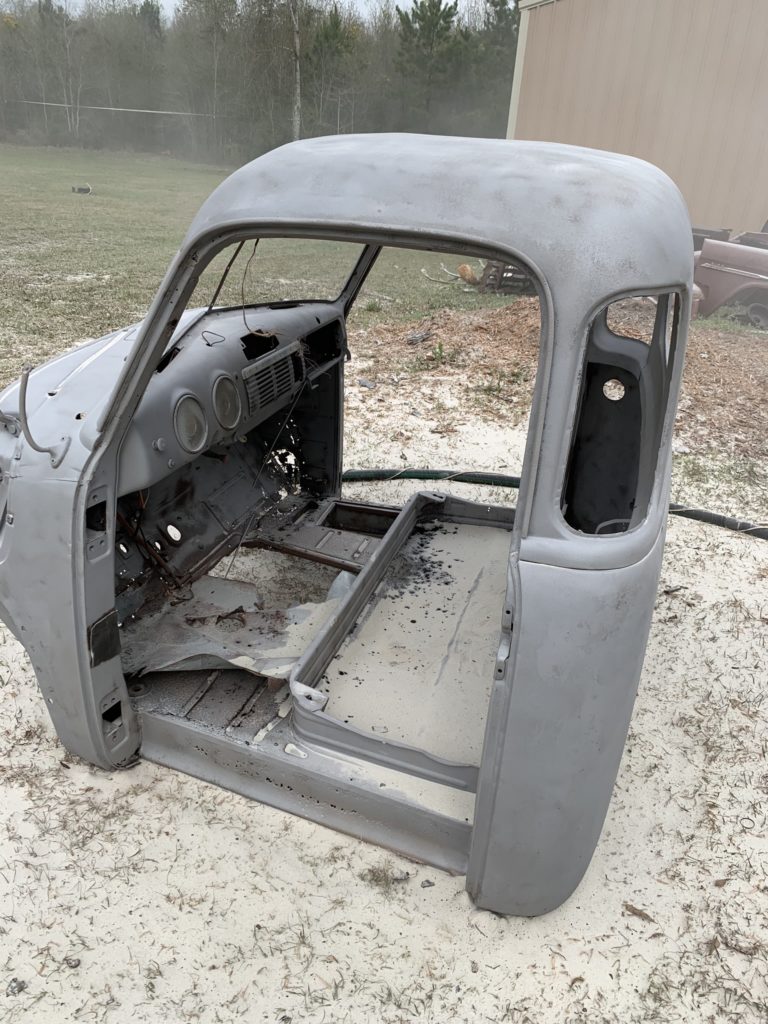
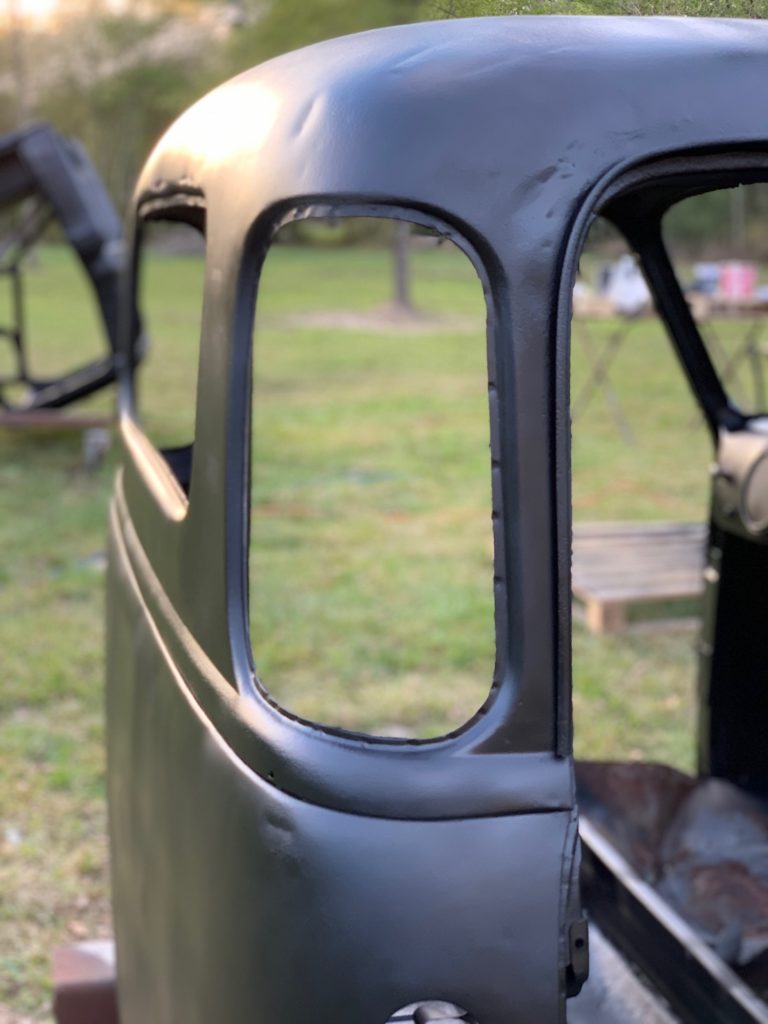
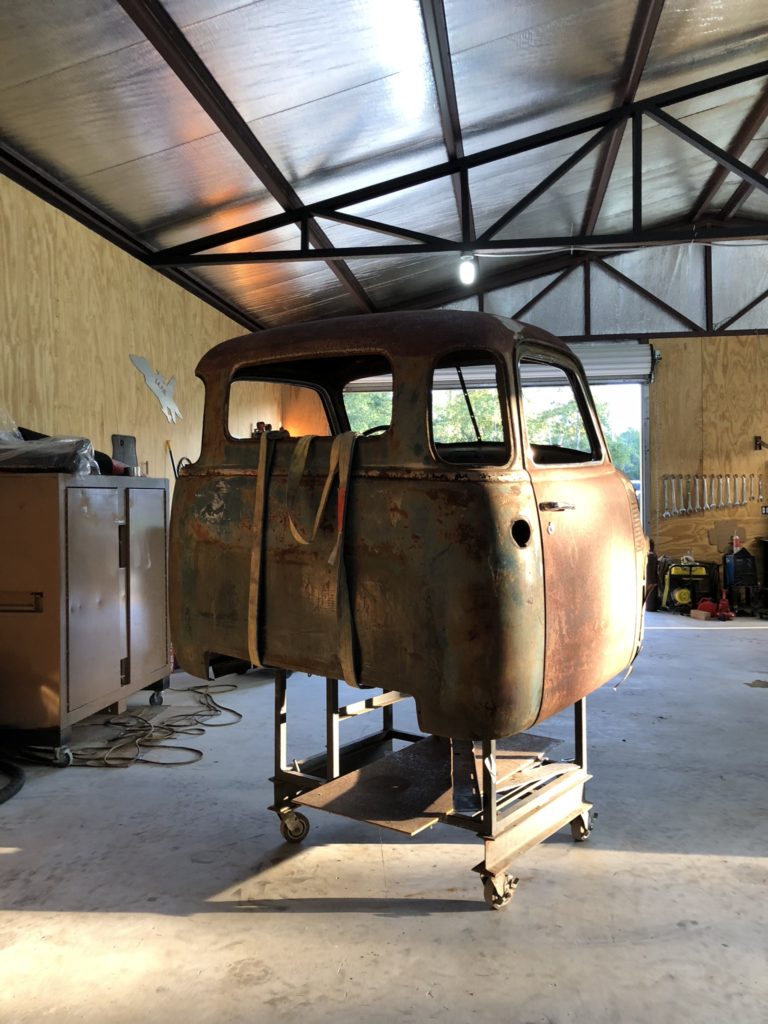
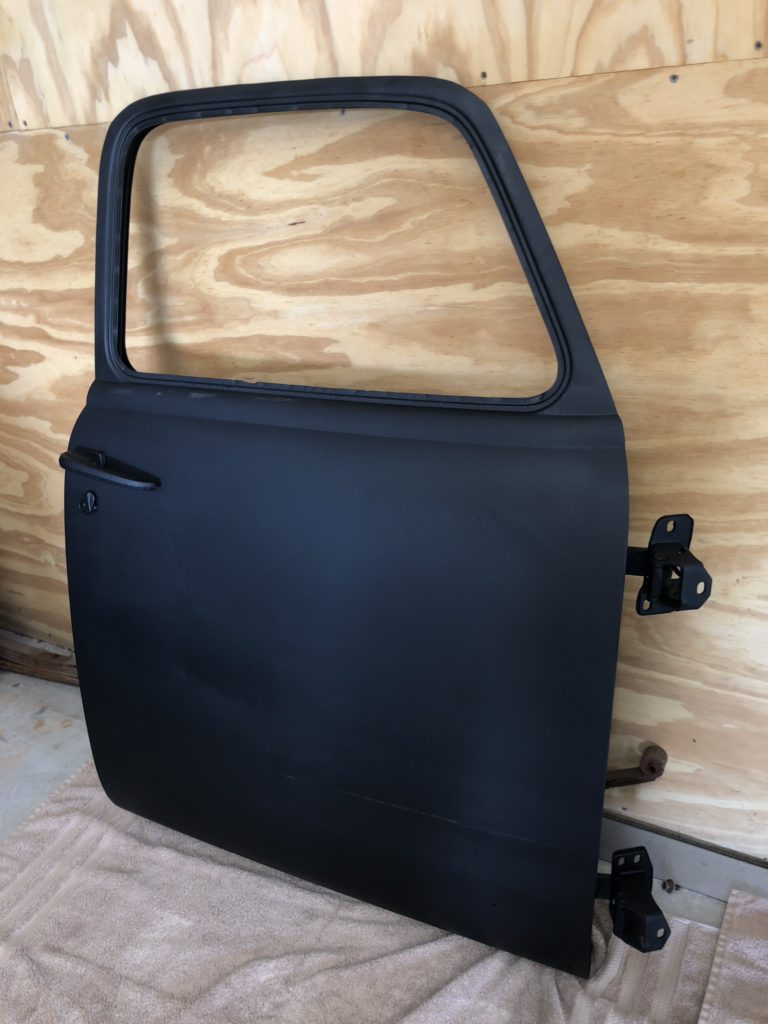
Cab Improvements
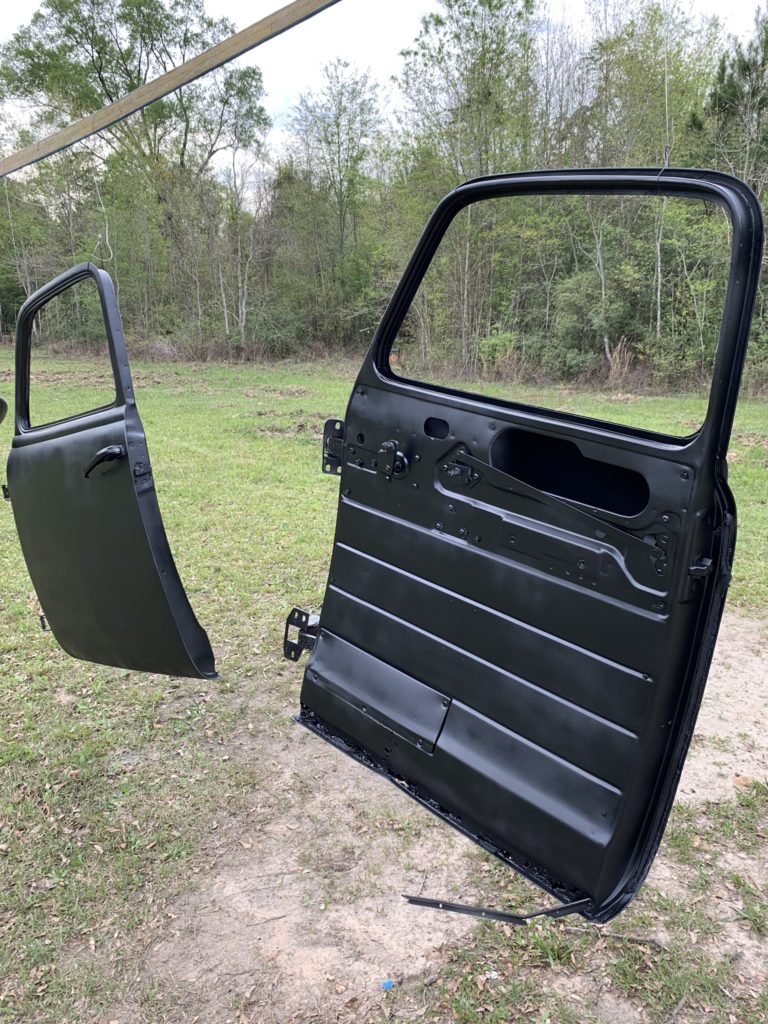
With time being the enemy on all these projects and Bolts Right Up making some big strides in chassis’s, we need to move the 51 along faster to create space. The old cab is nice but has some large panels to repair and that takes a lot of time. We pulled another 51 cab and blasted it to use on this build.